
–
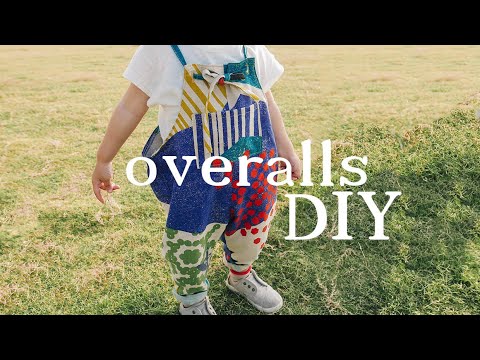
繼一年多前的熊帽教學讓大家陷入手作熊帽的大坑之後,一直有人敲碗想學吊帶褲,但吊帶褲步驟比較複雜,光靠圖文很難說明清楚,最後決定製作教學影片,花了不少時間終於完成!
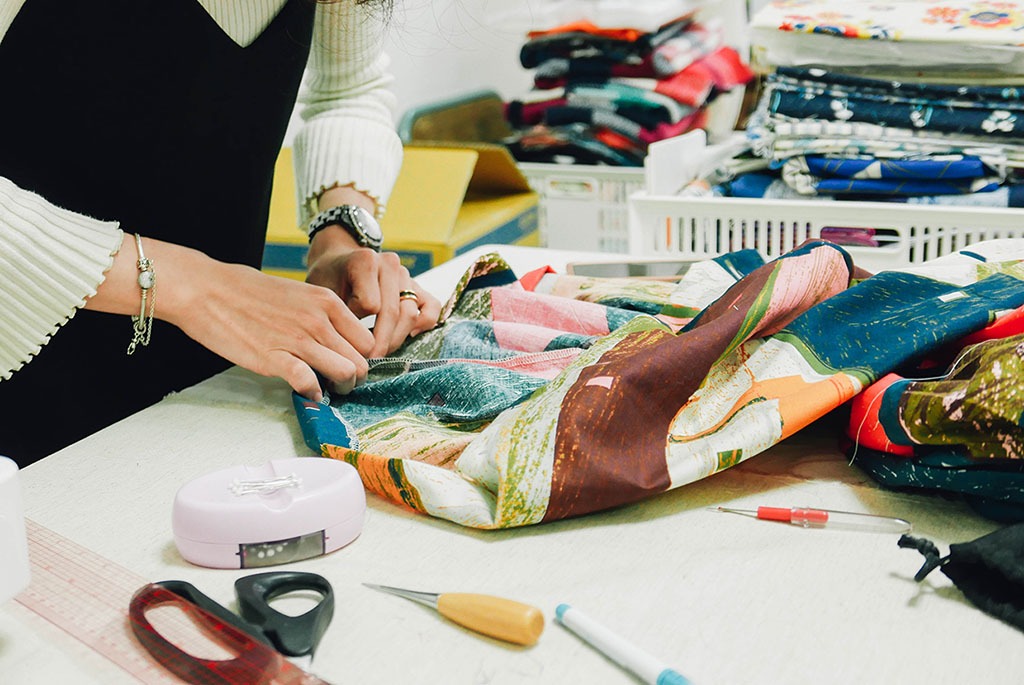
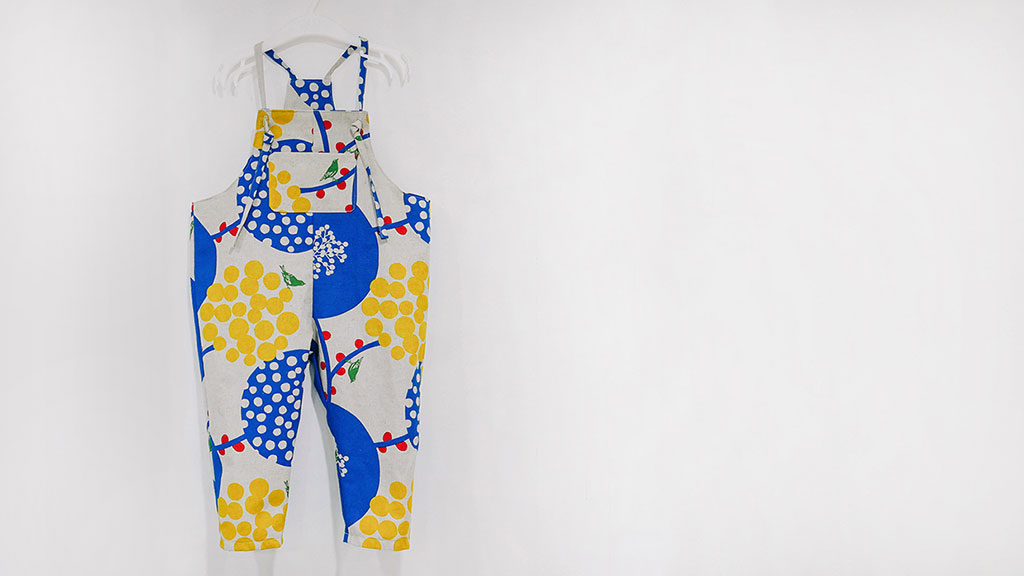
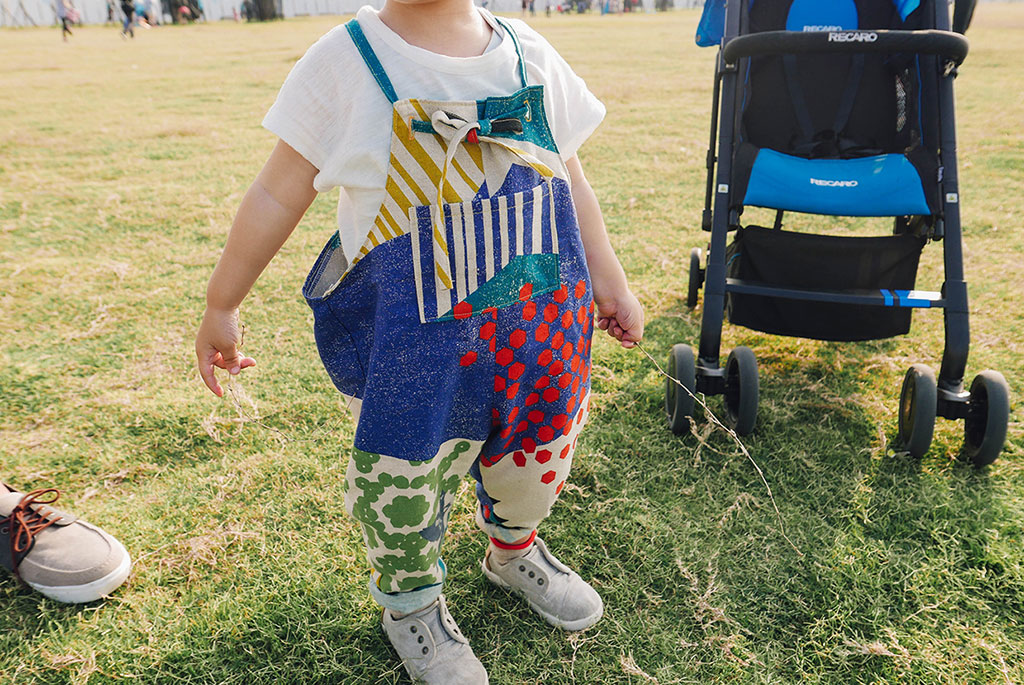
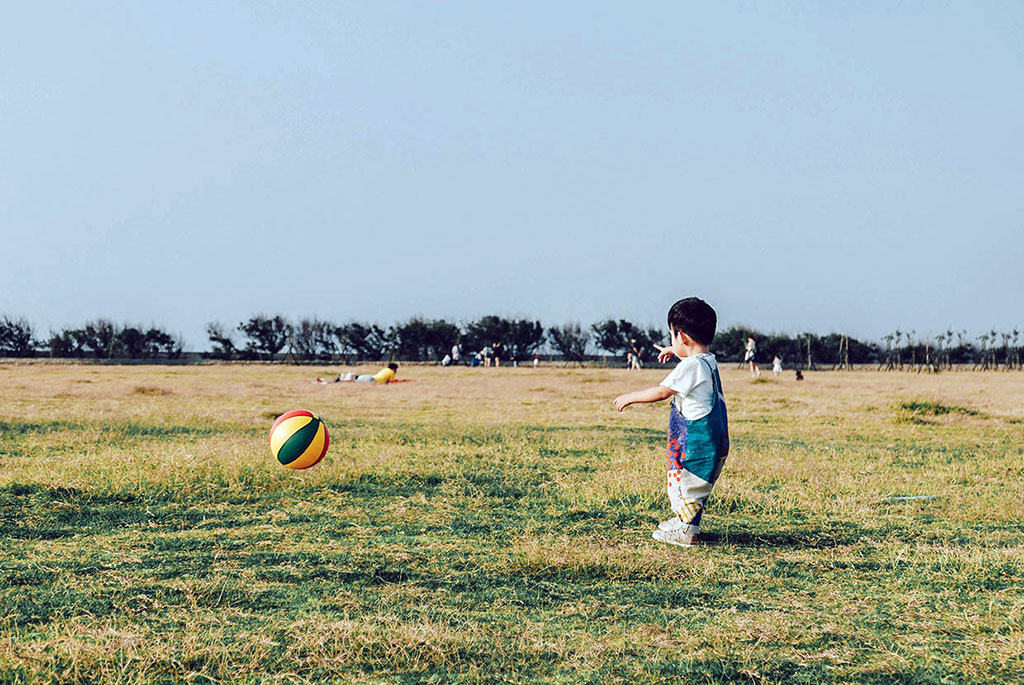
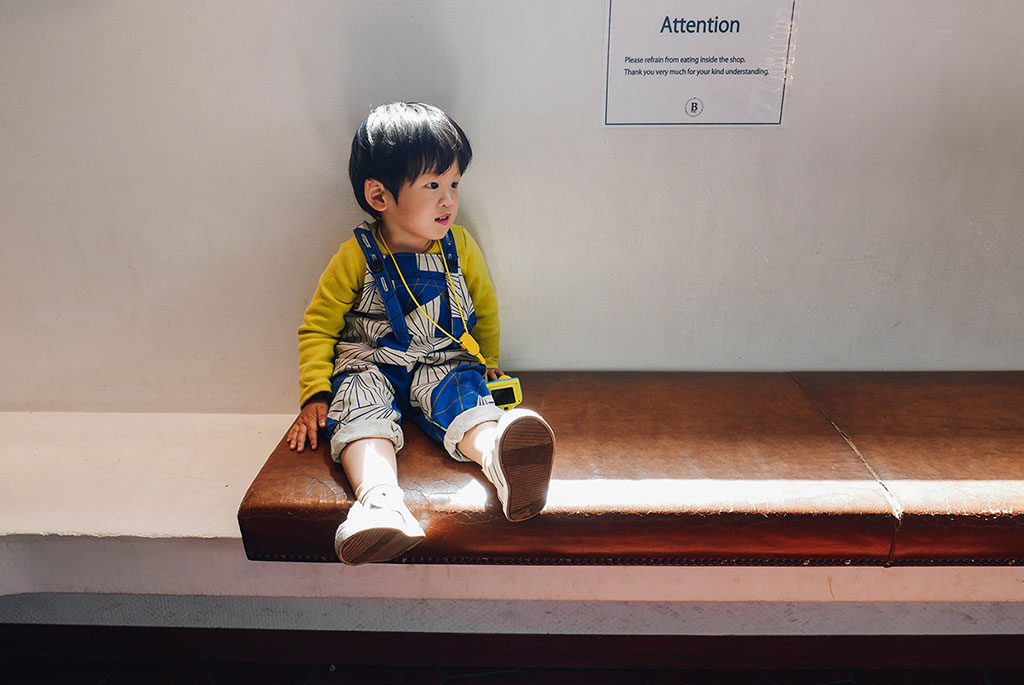
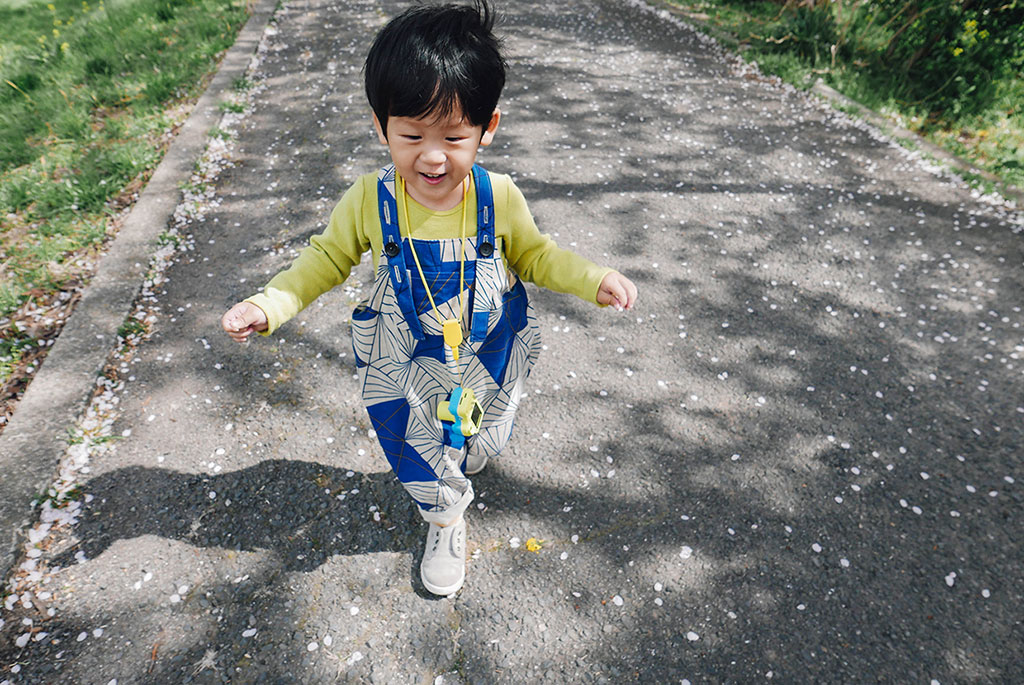
這款胖嘟嘟吊帶褲是兔子自行打版設計的,一直沒有找到心中想要的吊帶褲版型,於是決定自己來,拿沐可現有的衣服比劃修改成這款吊帶褲,穿起來真的非常可愛,也是兔子手作課程中很受歡迎的一堂課。
版型下載:https://reurl.cc/lV99AE
※可製成成品販售,但請註明版型來源。
※教學內容與版型請勿拷貝抄襲!轉載分享請註明出處。
教學影片:
喜歡影片的朋友歡迎訂閱我們的頻道,未來的手作教學影片都會放在這裡。
圖文製作步驟:
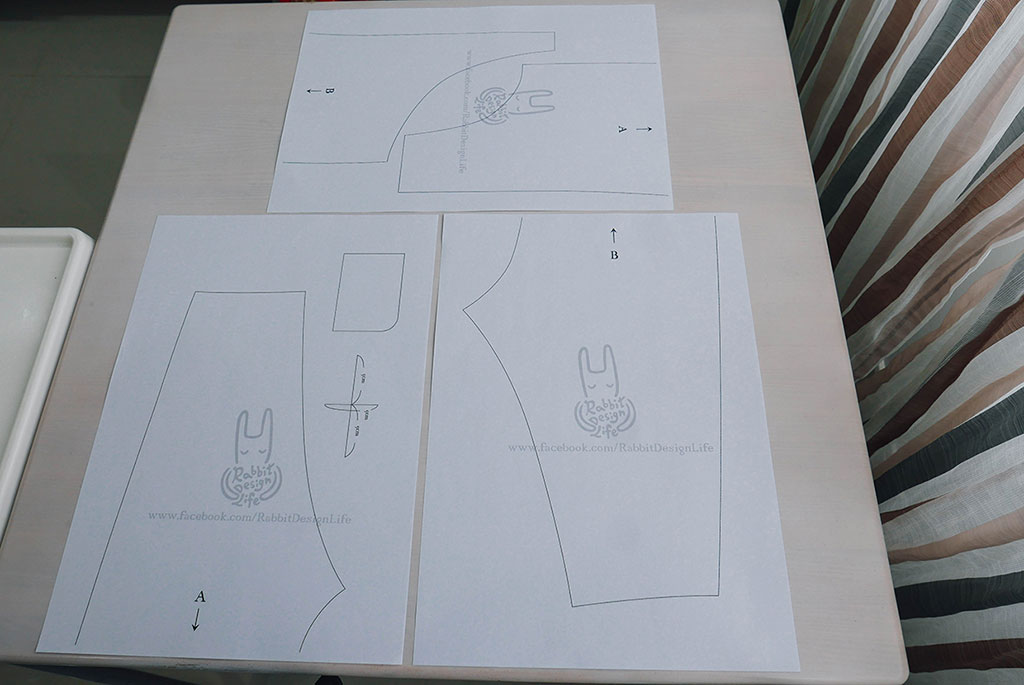
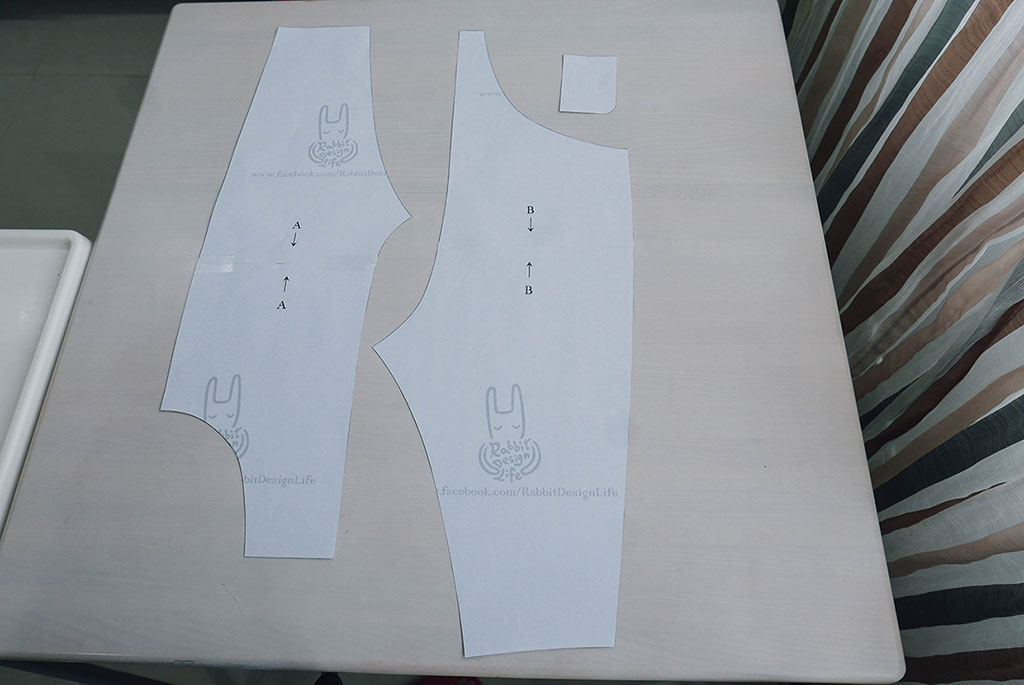
1.準備版型
版型用A3紙列印,沿著黑線剪下,並依據編號(A B)對齊黏貼。會得到三張版型:前片、後片、口袋。
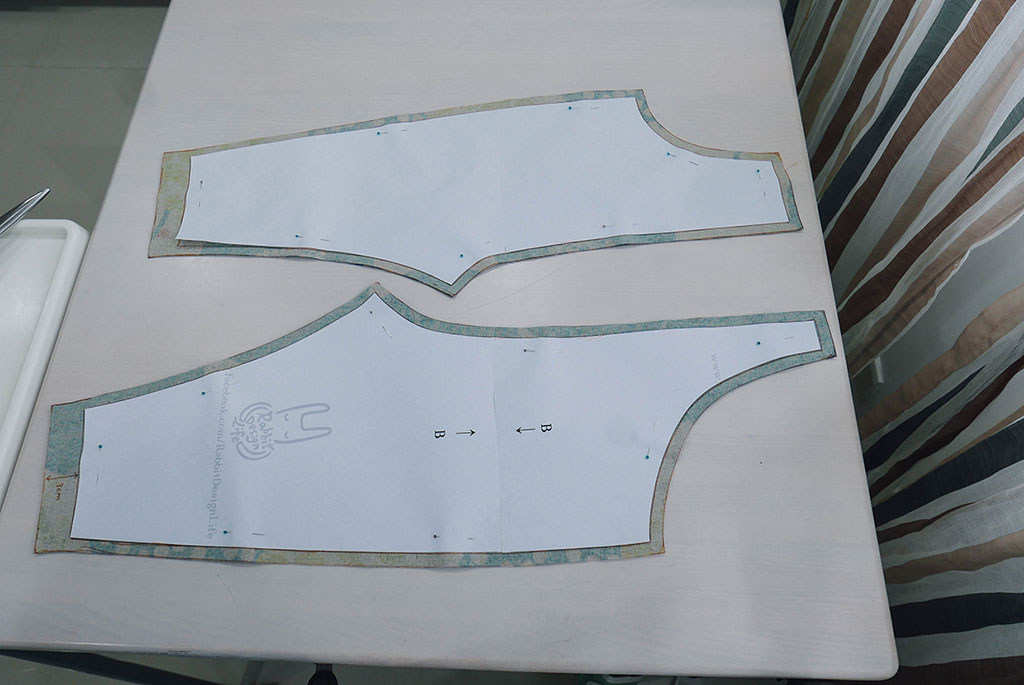
2.裁布
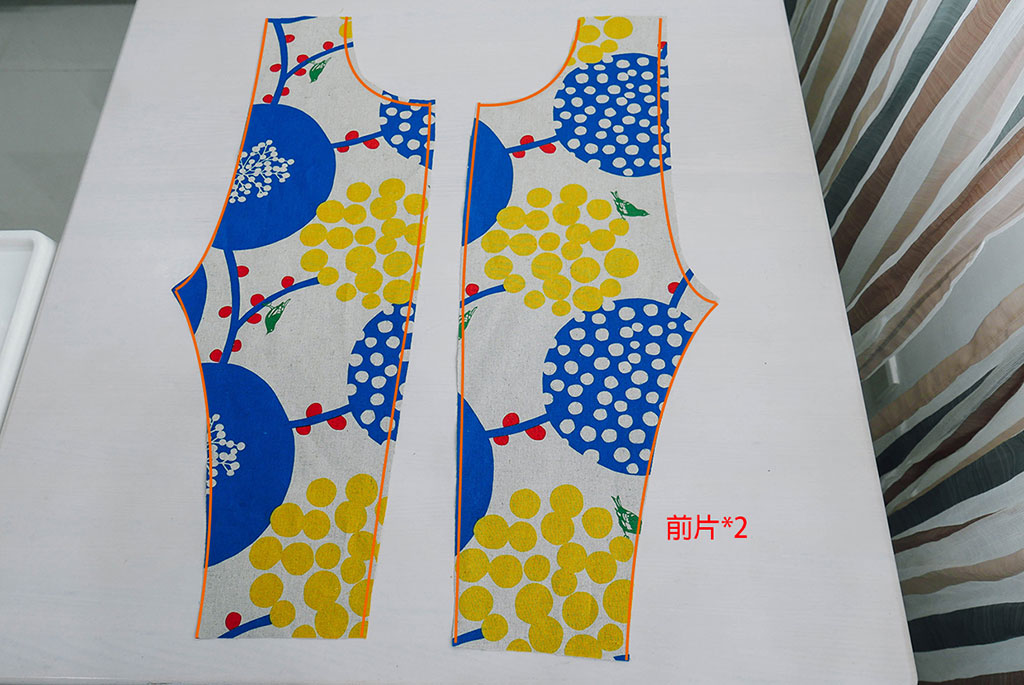
使用一碼的布料,正面對正面對折後,放上前片、後片版型,分別剪下各2片(左右相反),縫分褲管留3cm其餘1cm。
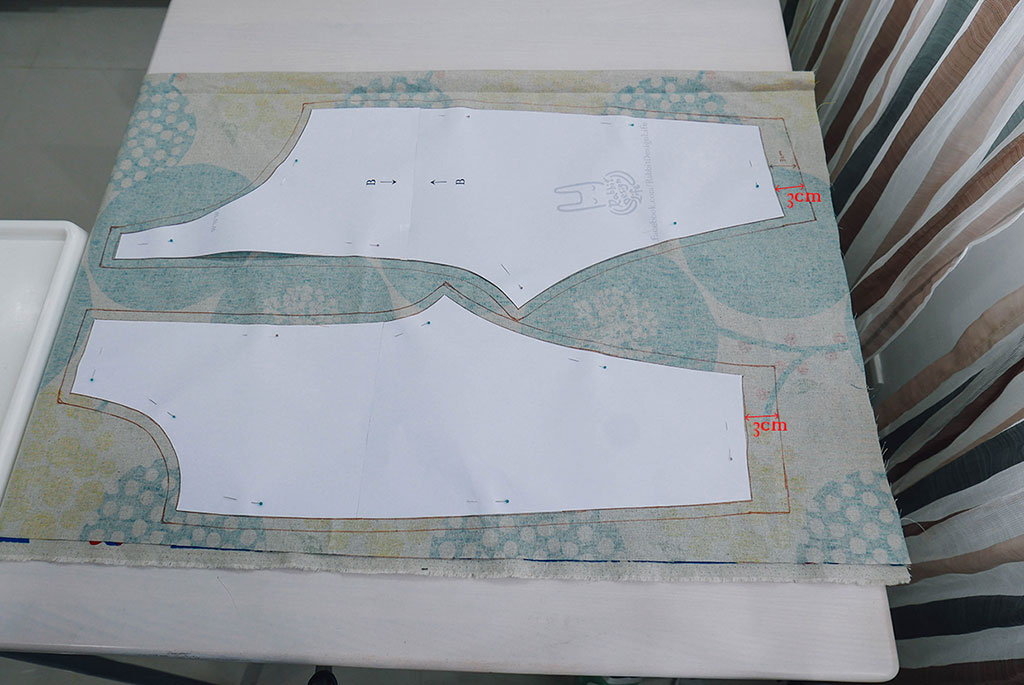
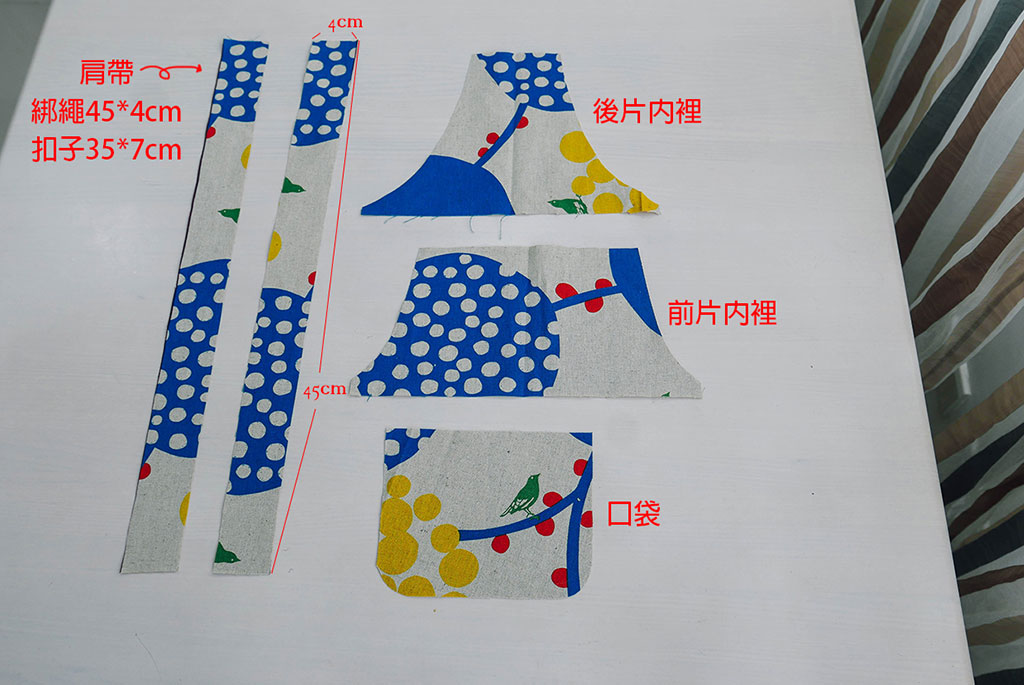
口袋版型需折雙,袋口縫份2cm其餘1cm(如要取圖可參考影片做法)。
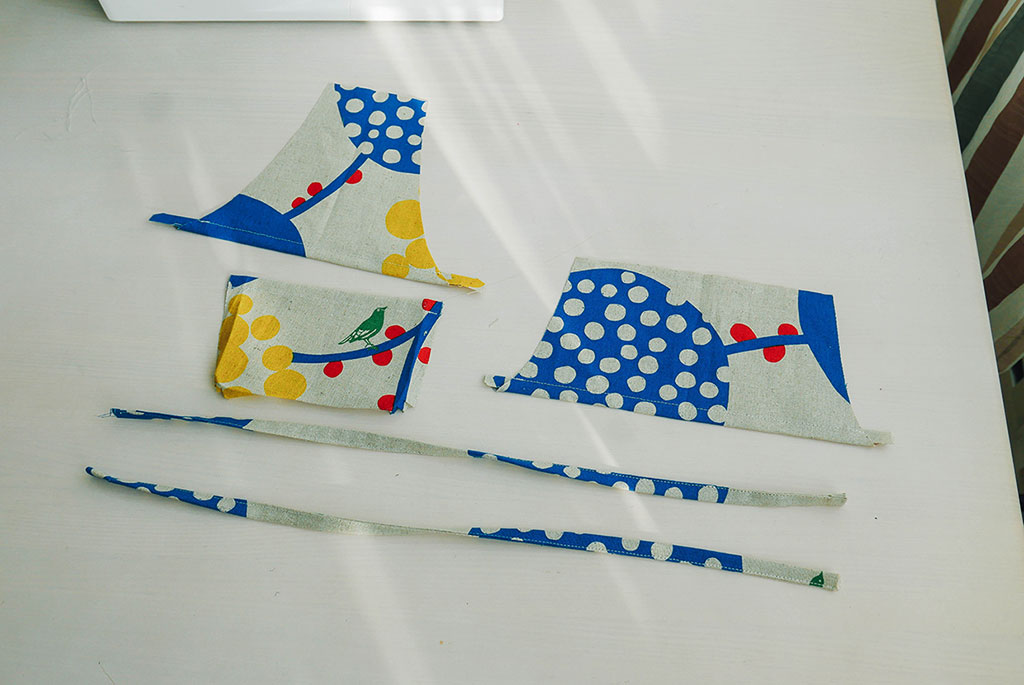
肩帶尺寸有兩種可自行選擇:綁繩款 – 45*4cm 兩條、扣子款 – 35*7cm 兩條。
前、後片內裡裁布作法可參考影片。
3.拷克
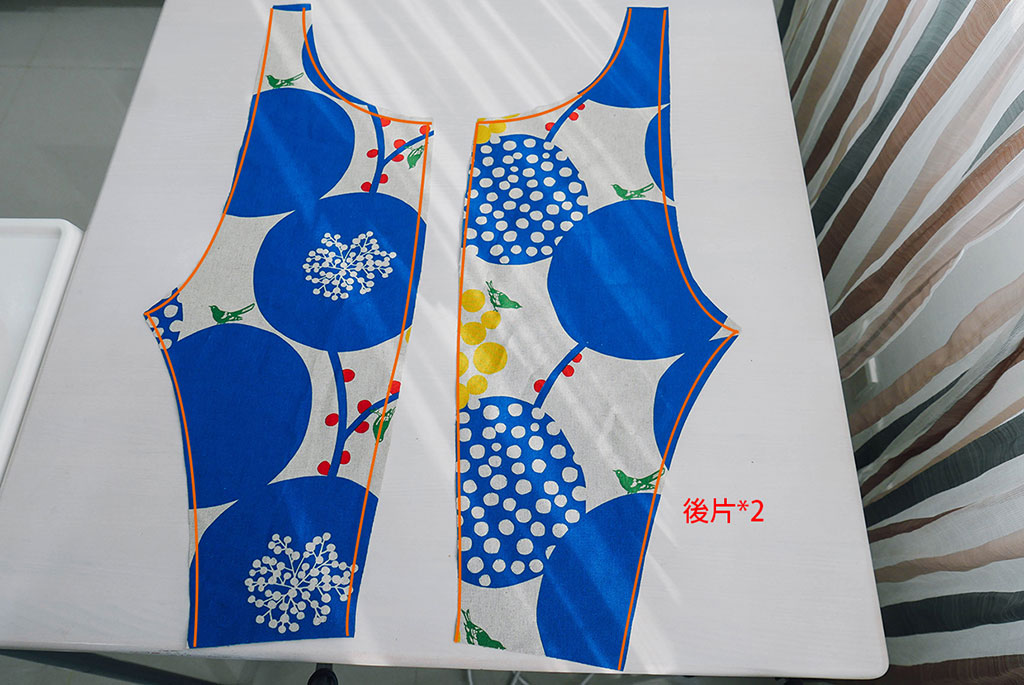
這次教學示範兔子忘記拷克了,大家記得縫製前要拷克!(前、後片兩側橘色線部分)
4.前置作業
肩帶、口袋、前後片內裡,折好後縫製(紅色虛線),折法可參考影片。
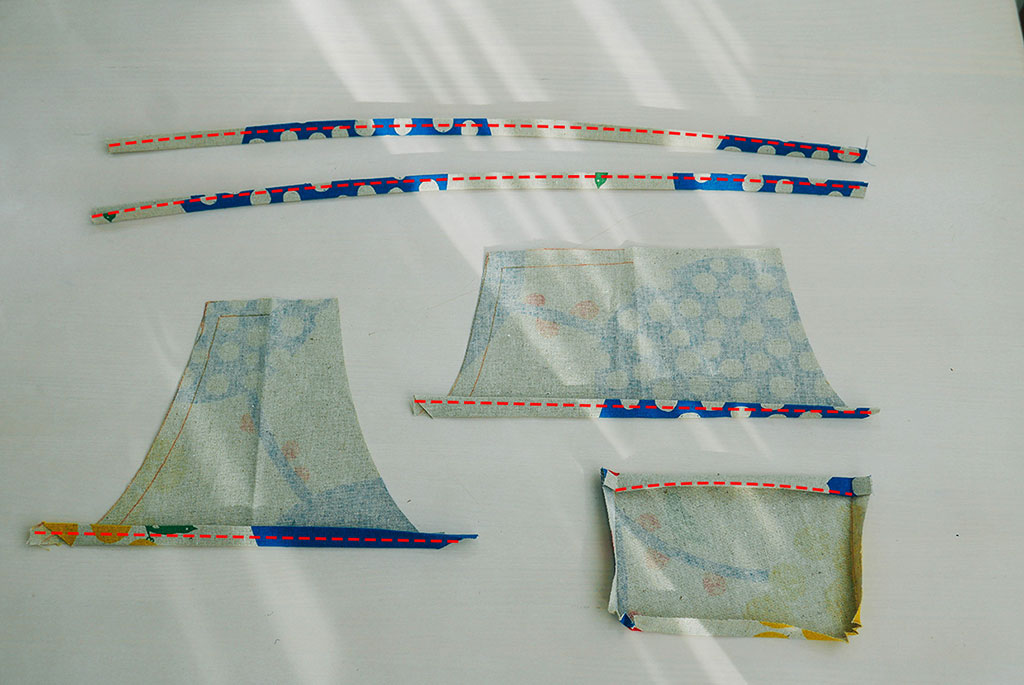
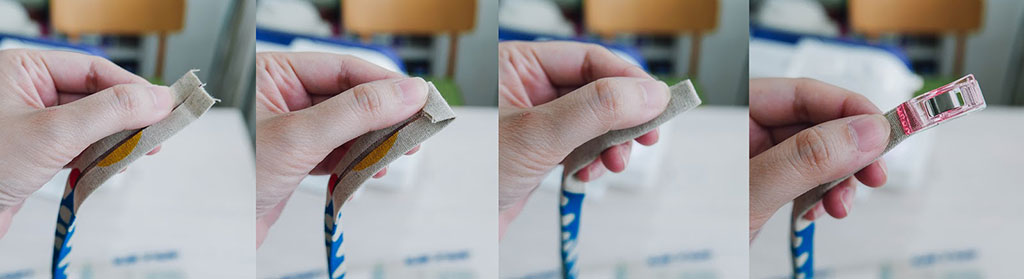
肩帶有一側要往內折。
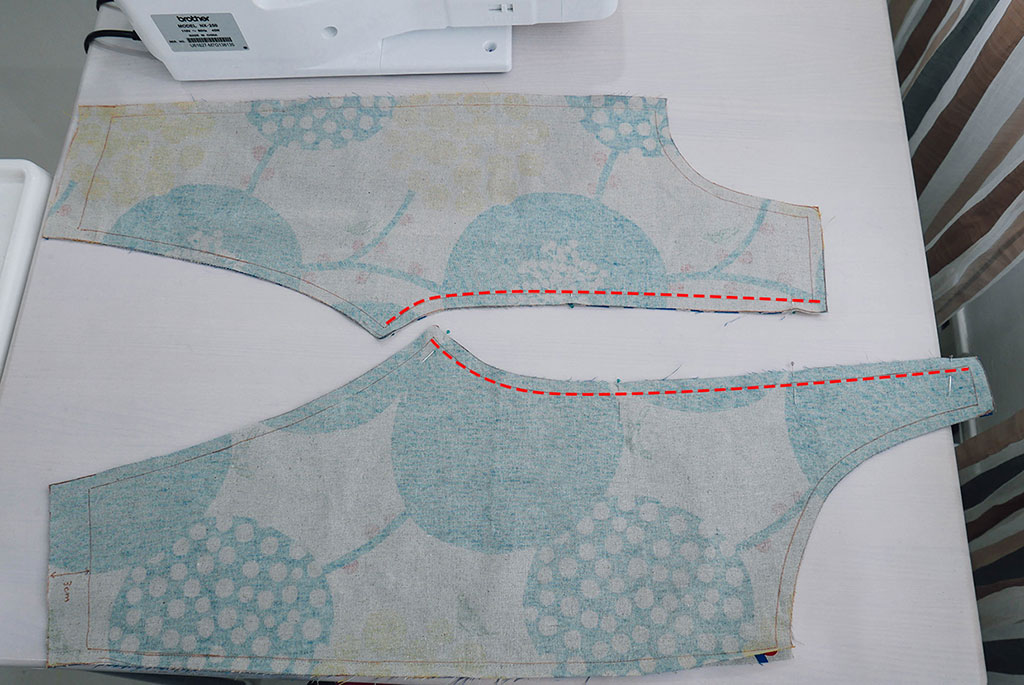
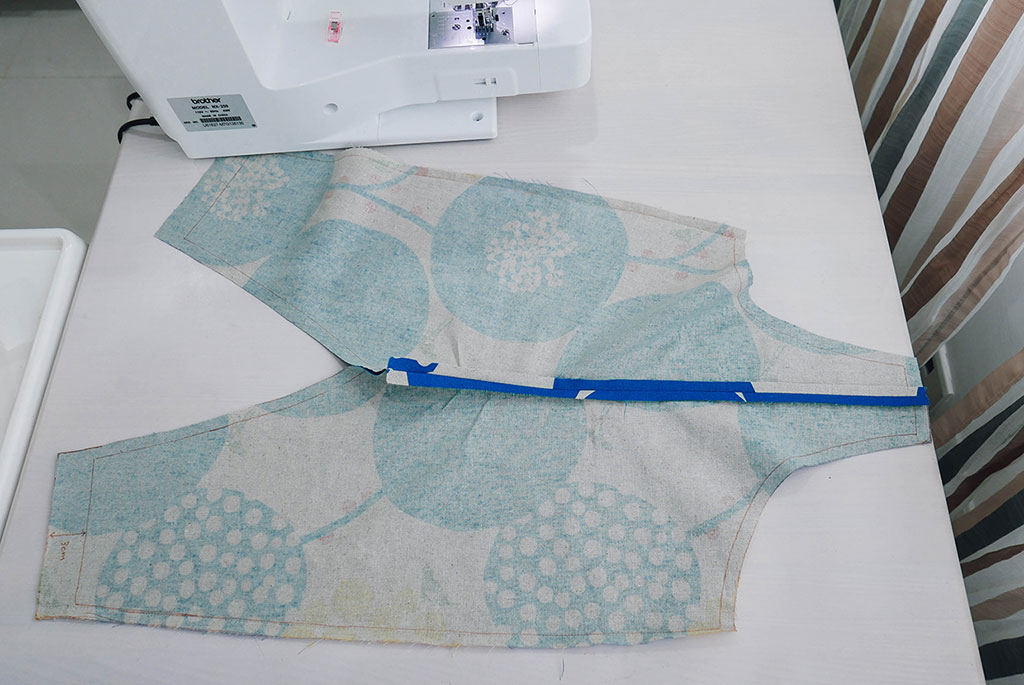
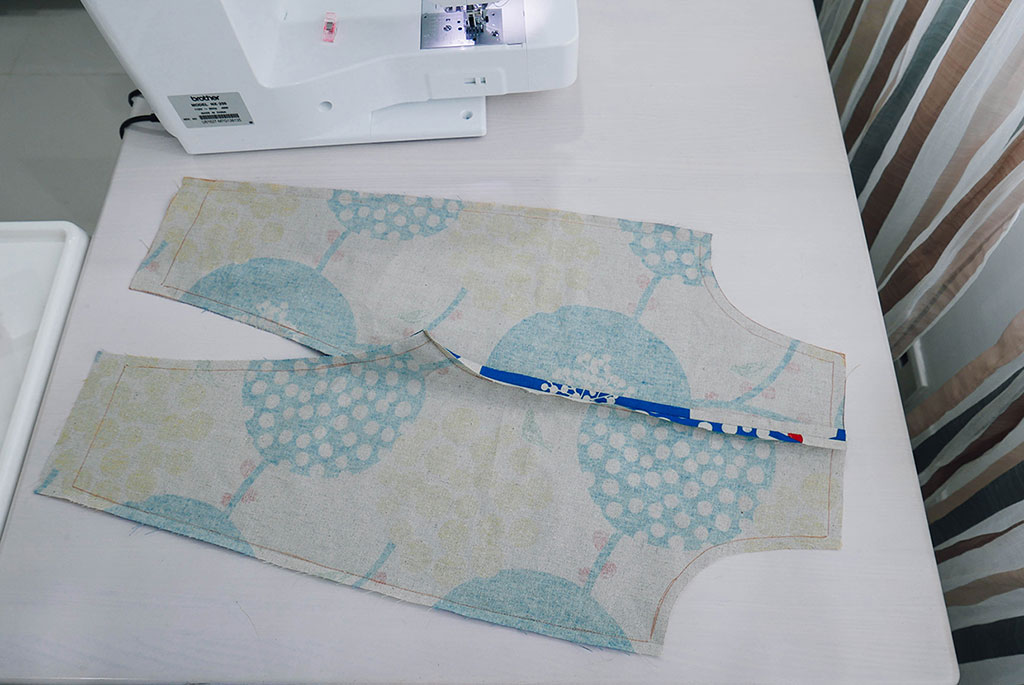
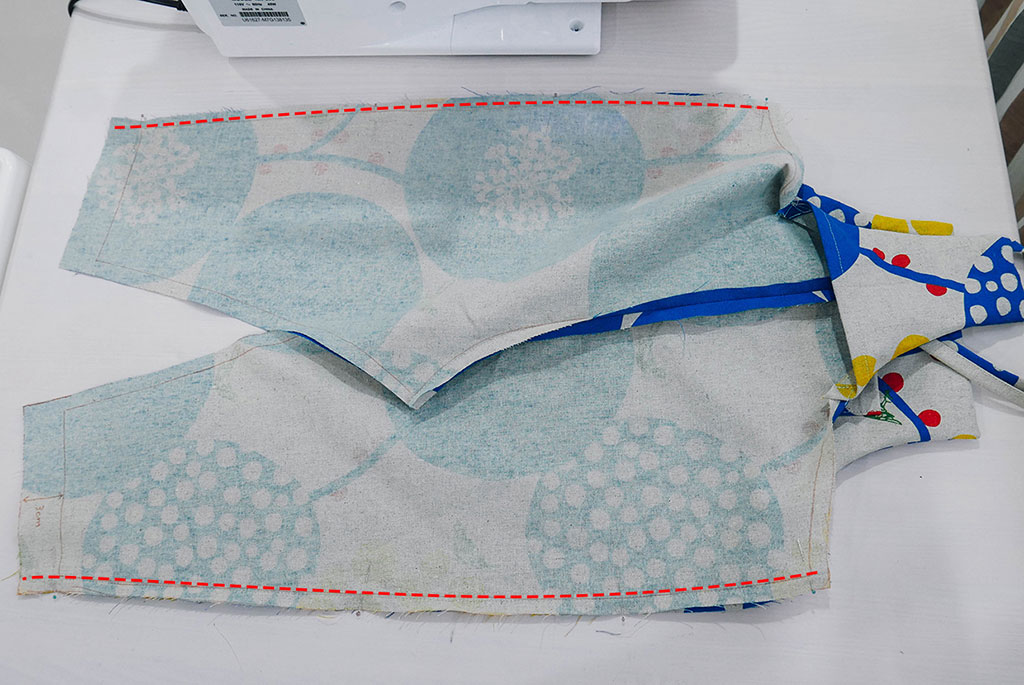
5.車縫前、後片
前片、後片各自兩片,正面對正面,縫合紅色虛線處,並將縫份燙開。
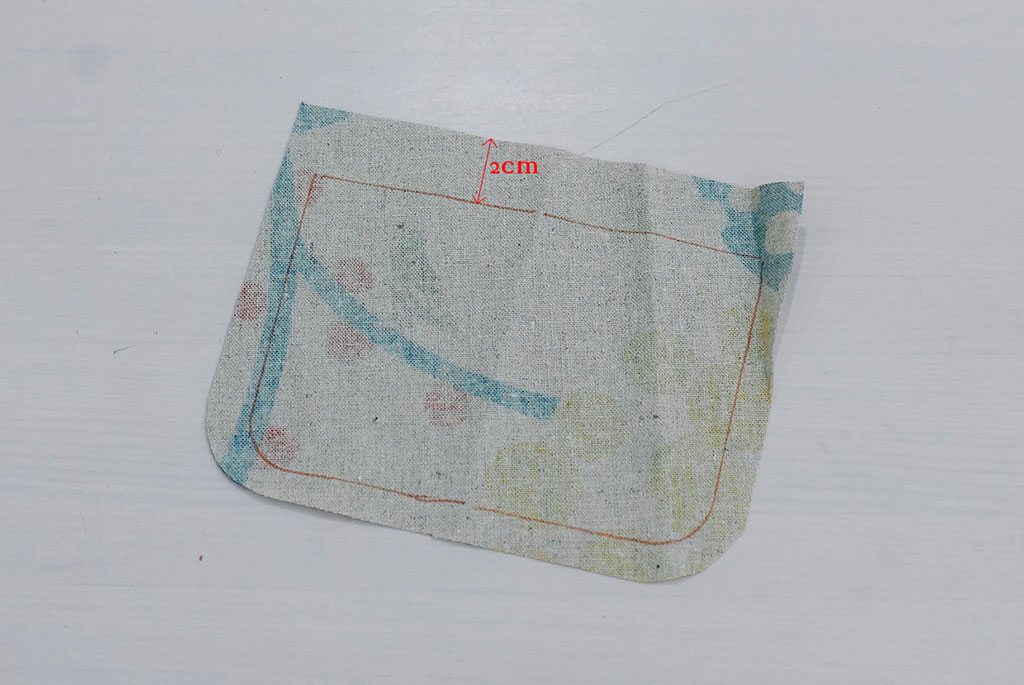
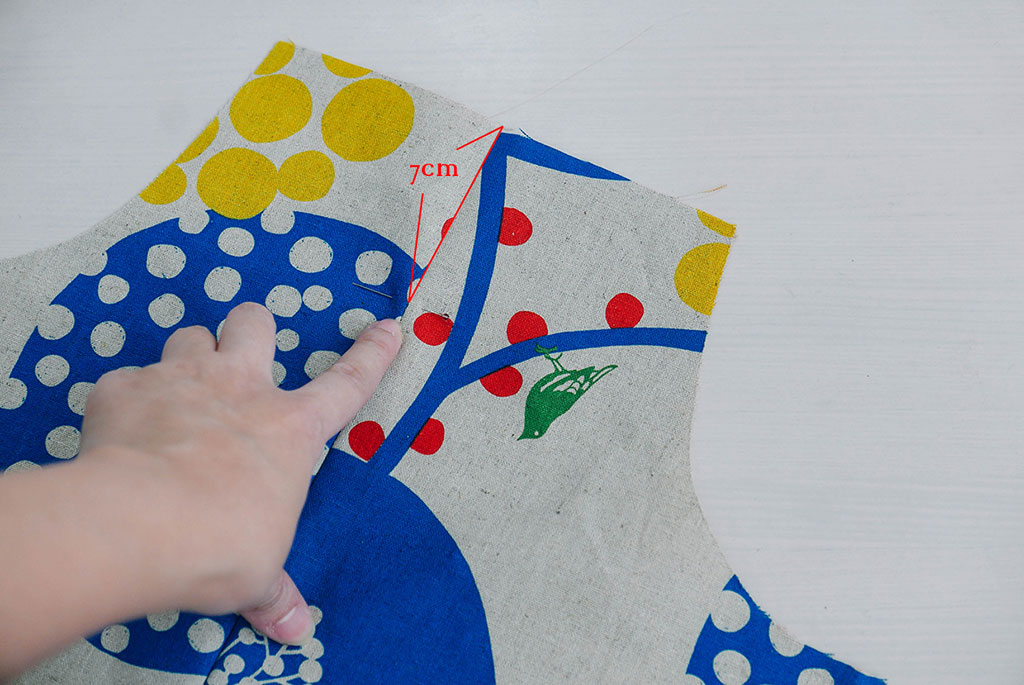
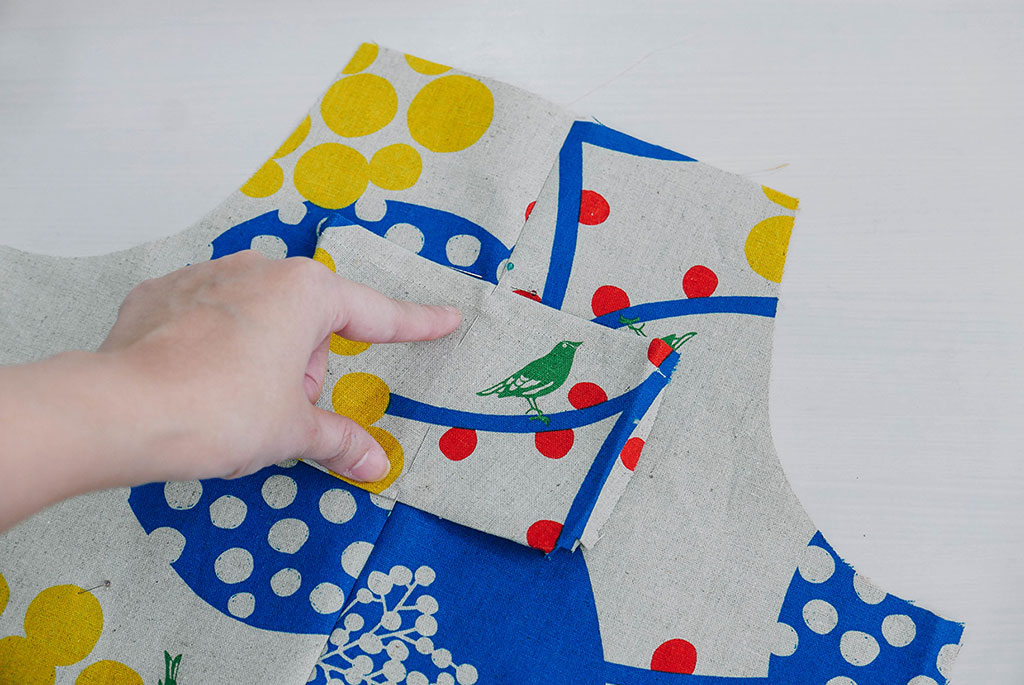
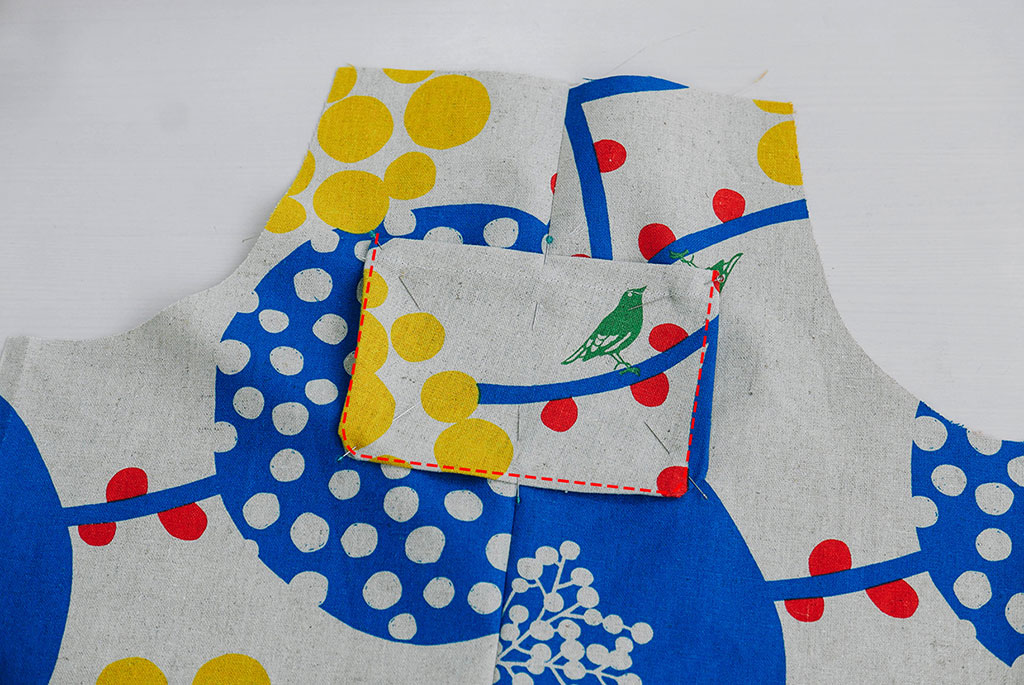
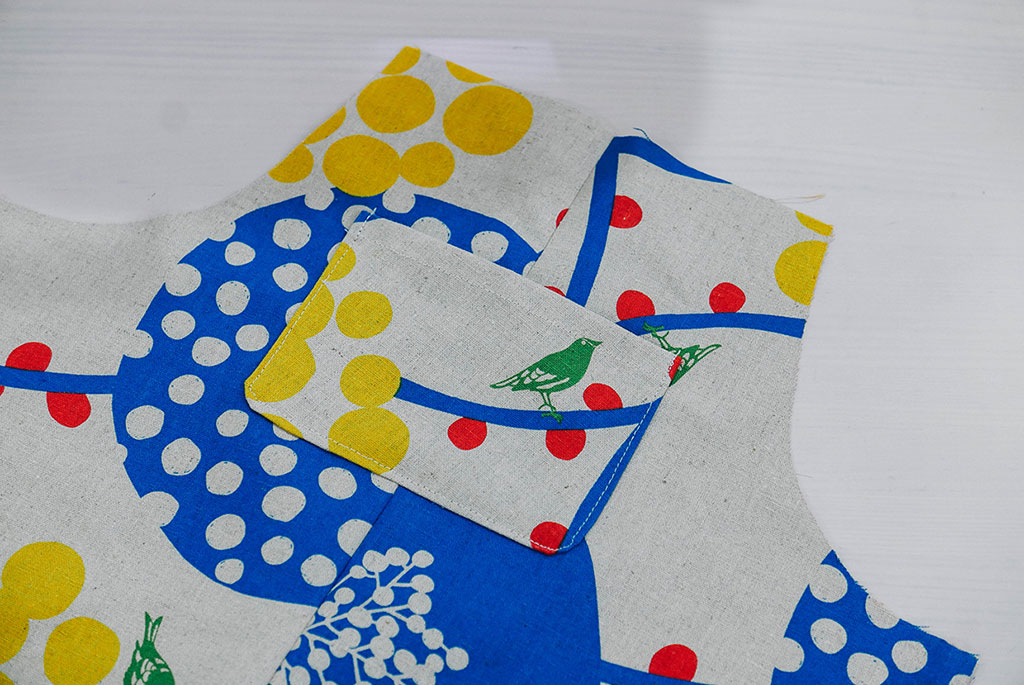
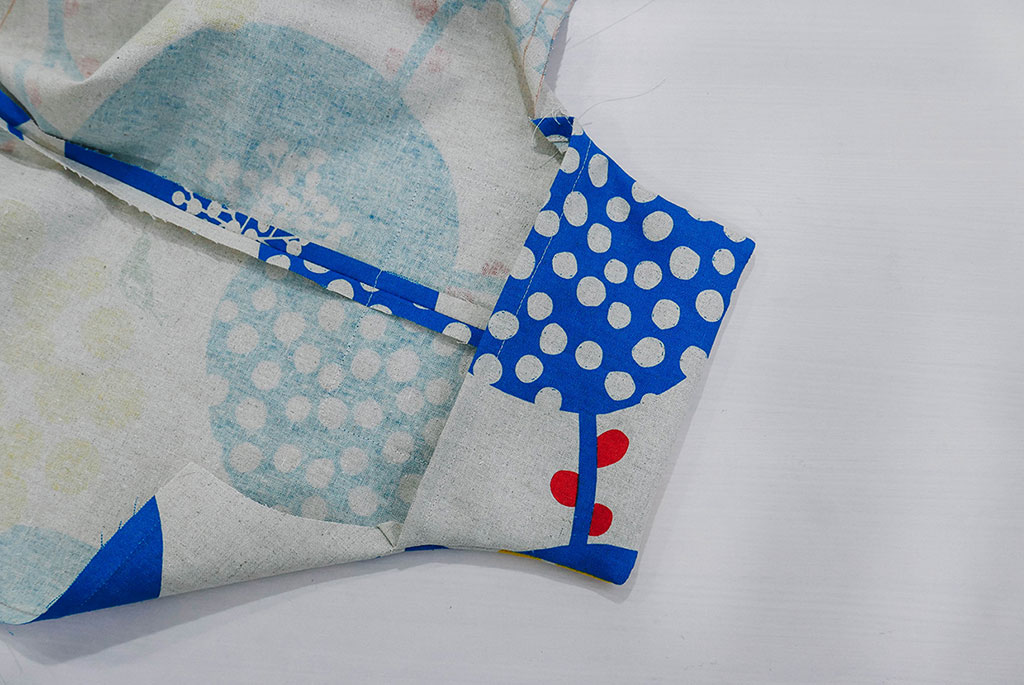
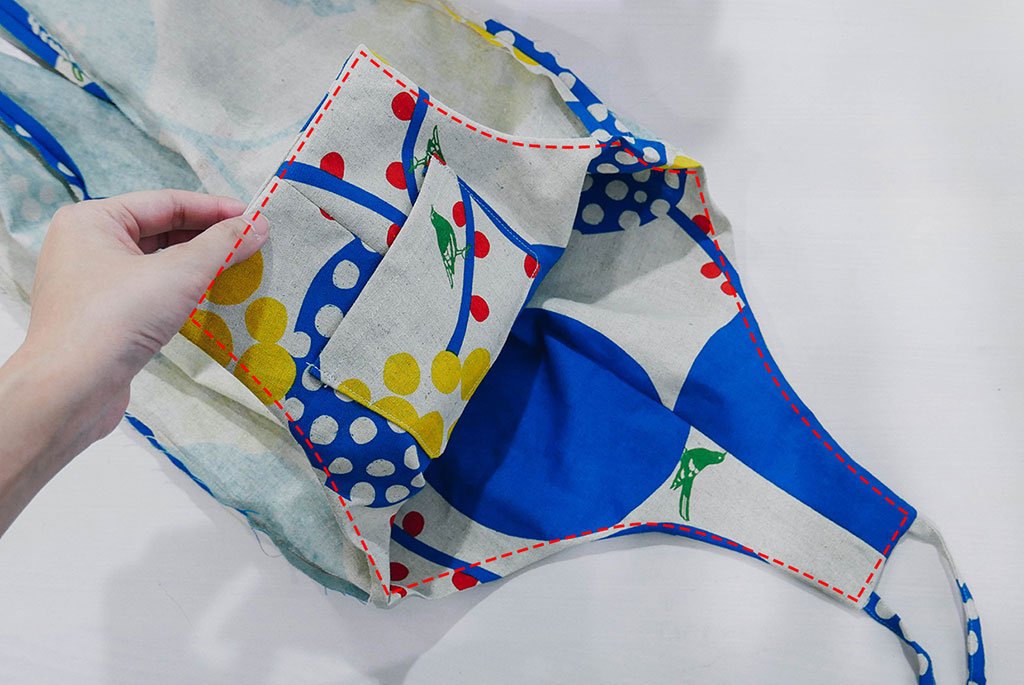
6.車縫口袋
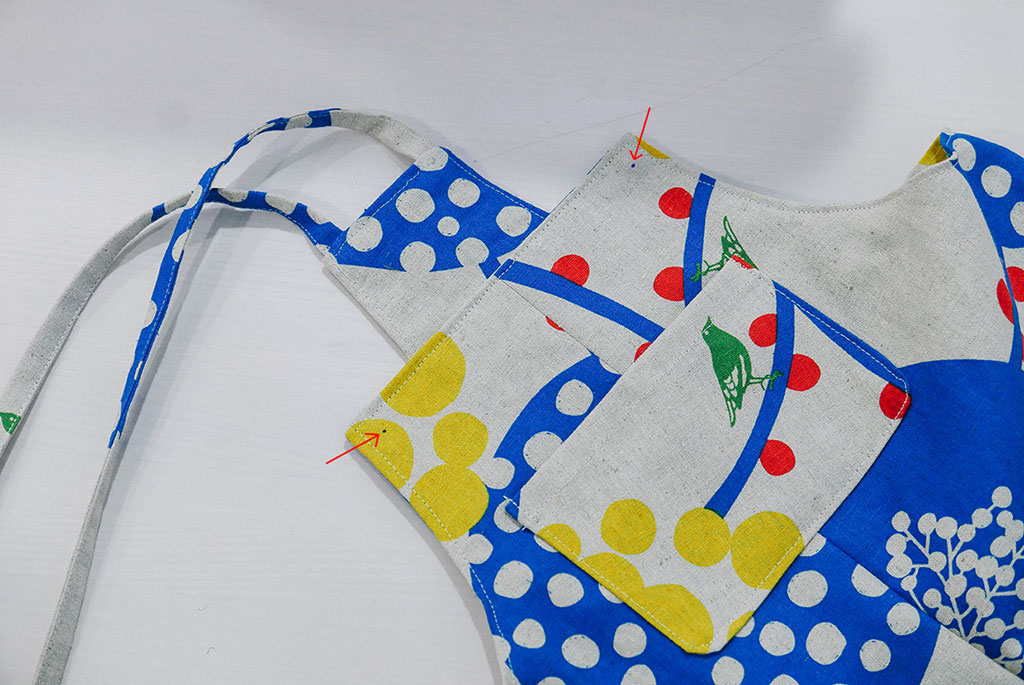
距離前片上緣7cm處用珠針固定位置,口袋對折用珠針把中心點做記號,再將口袋對準中線用珠針固定,縫合口袋(紅色虛線)。
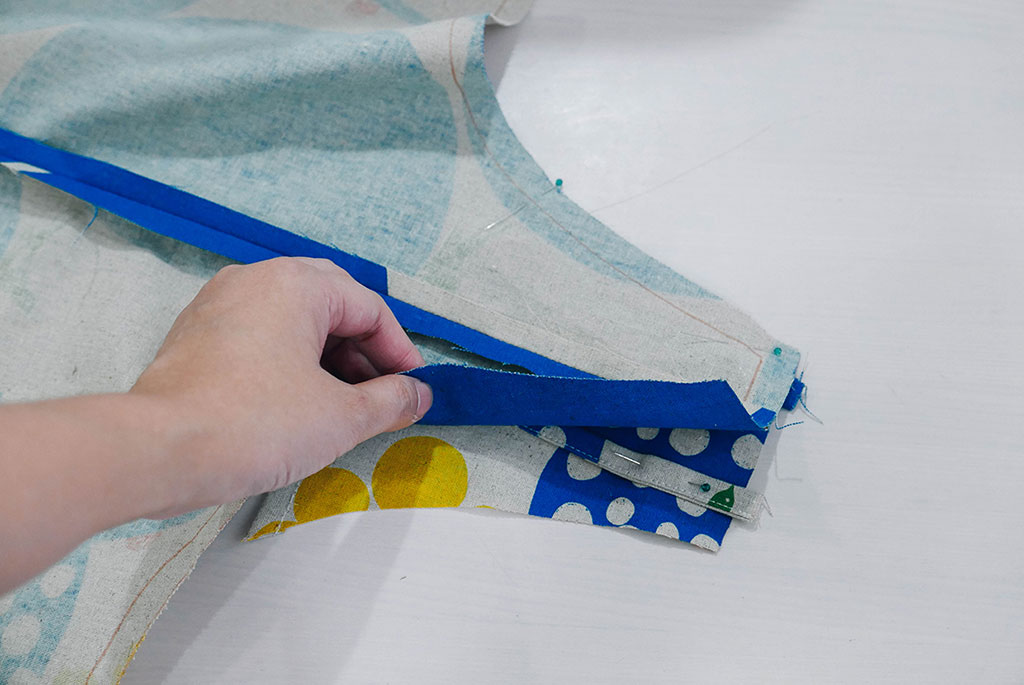
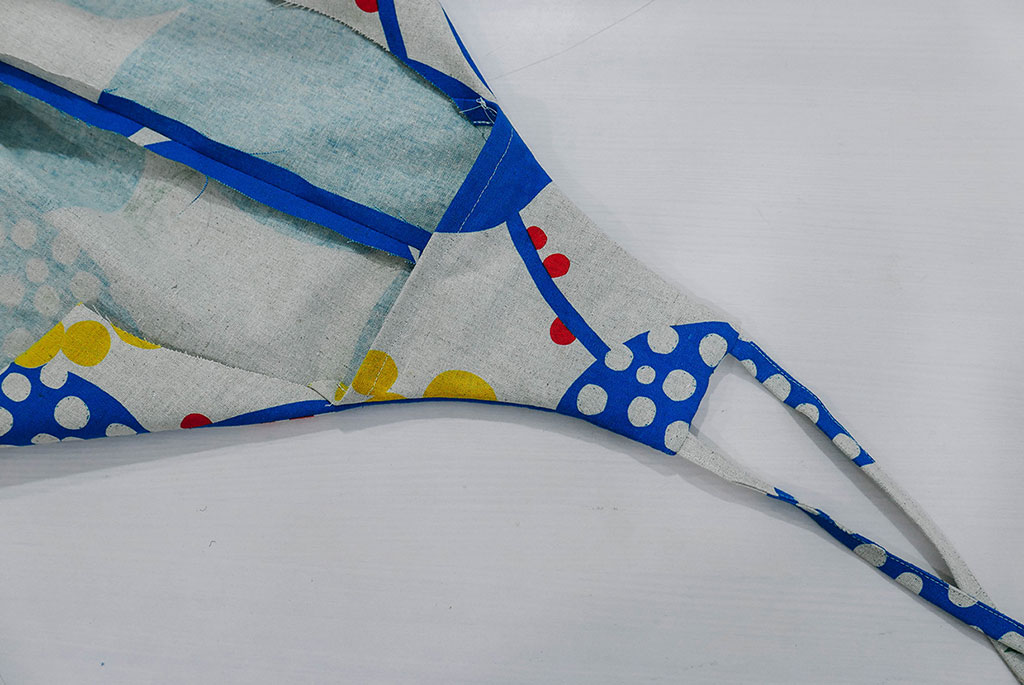
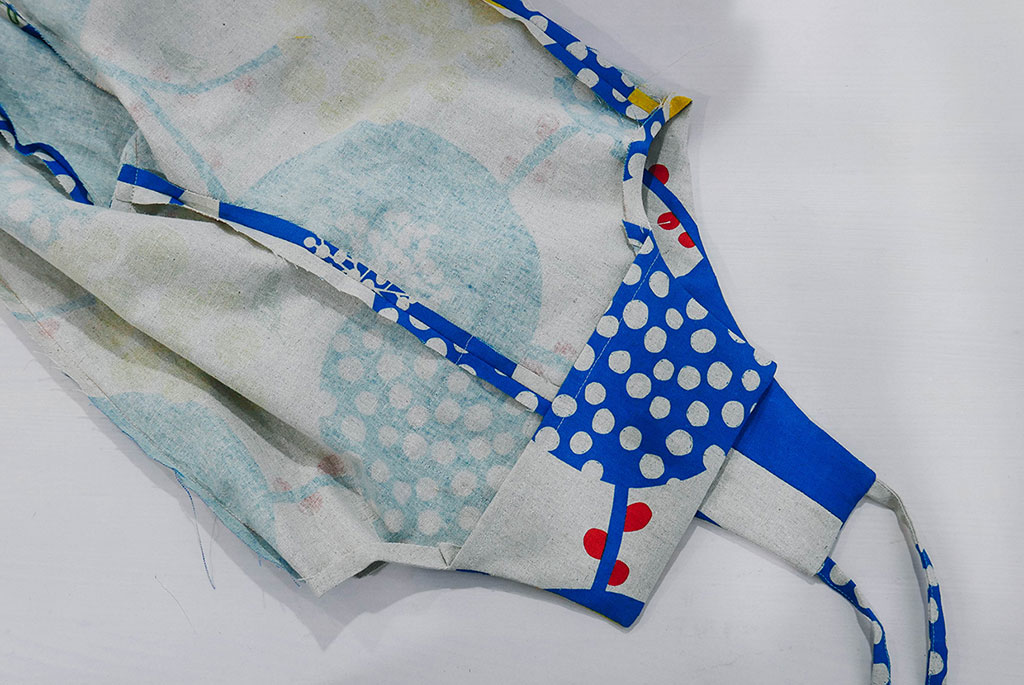
7.車縫肩帶
使用珠針固定肩帶位置,後片、肩帶、後面內裡,三層固定後一起縫合(紅色虛線)。
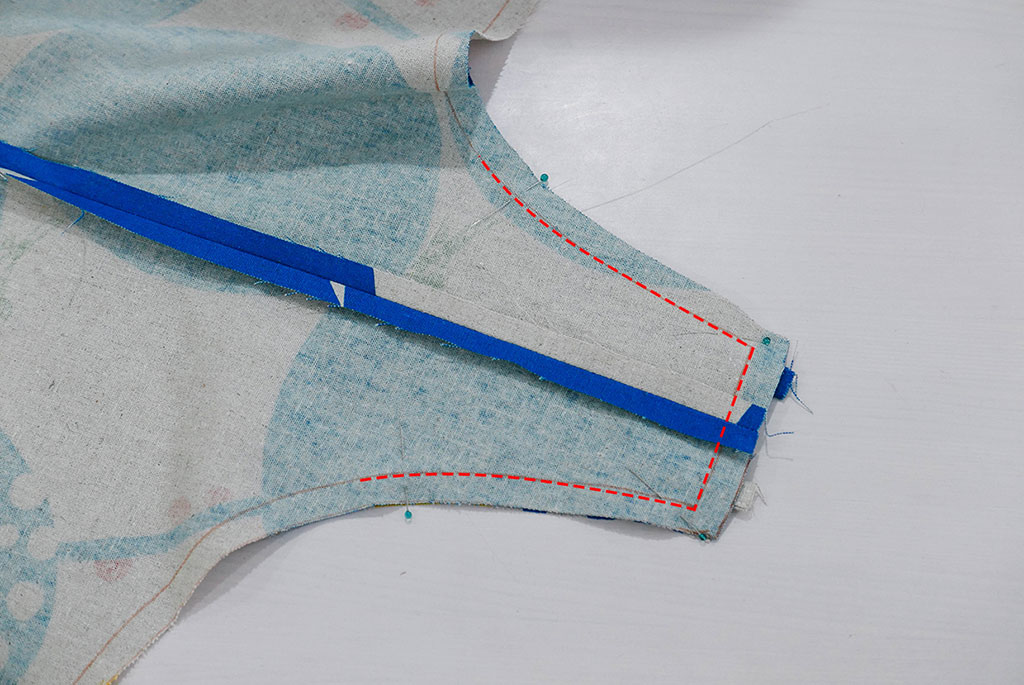
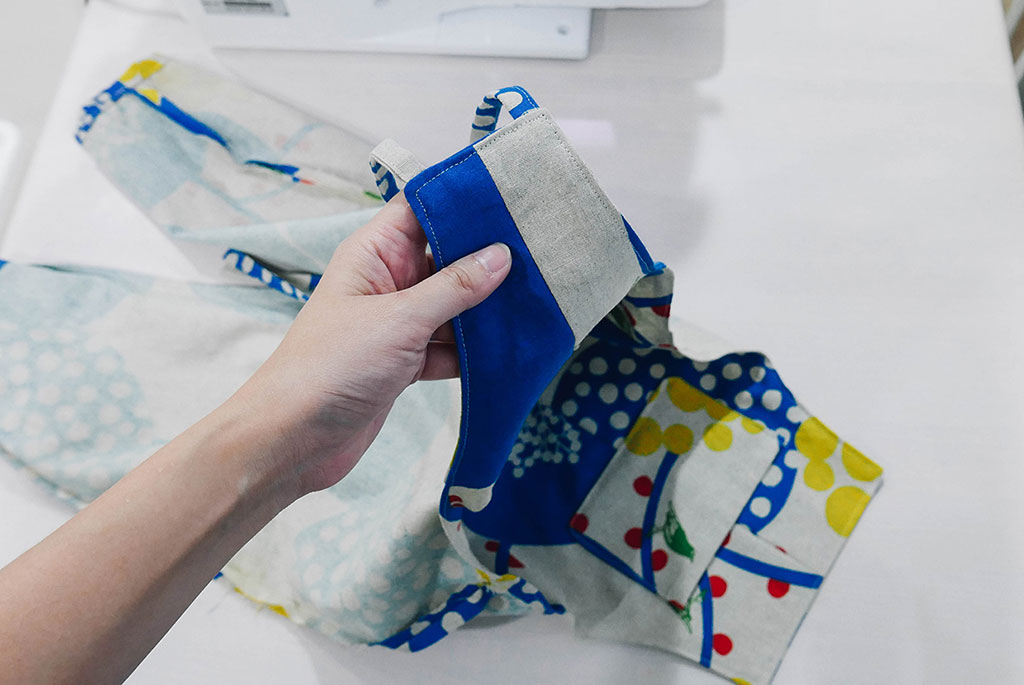
前片、前片內裡,正面對正面縫合(紅色虛線),弧度地方剪牙口後翻回正面。

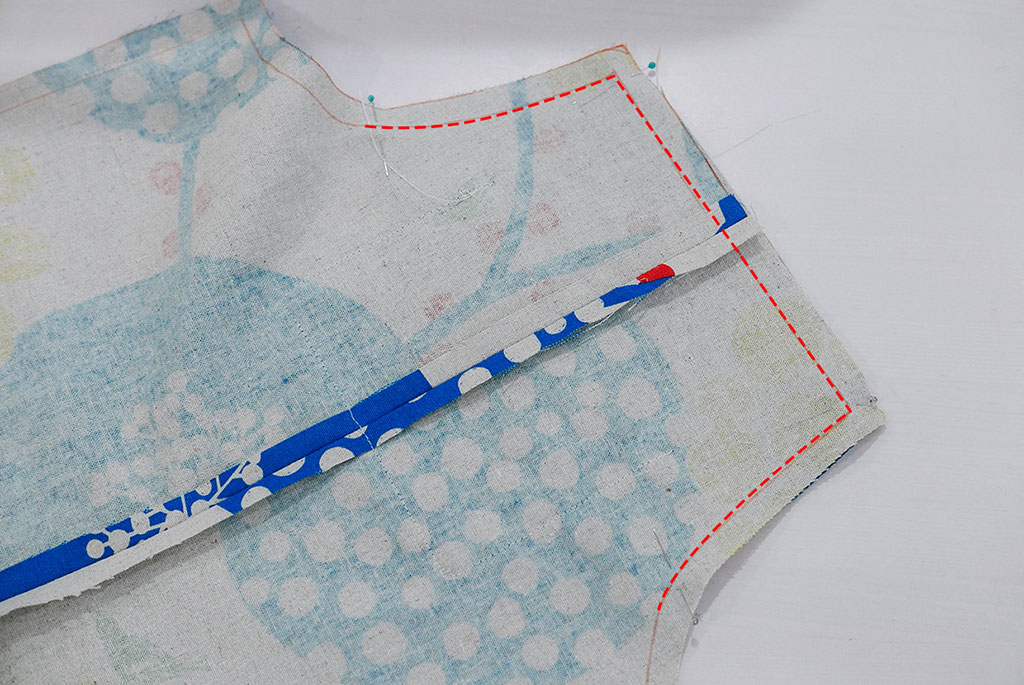
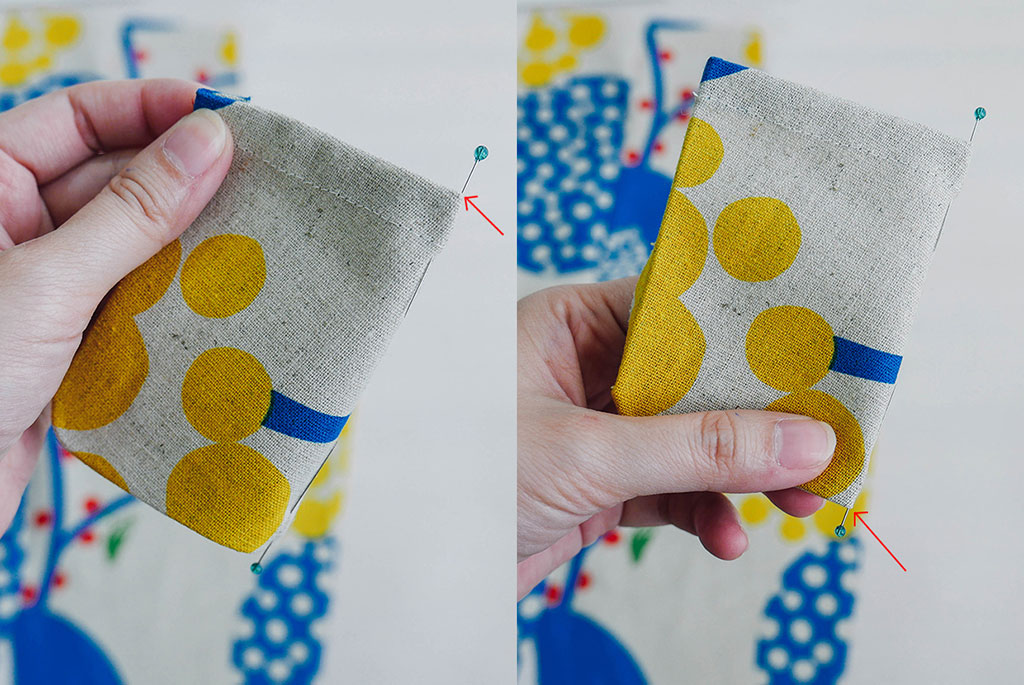
※直角位置翻面小技巧
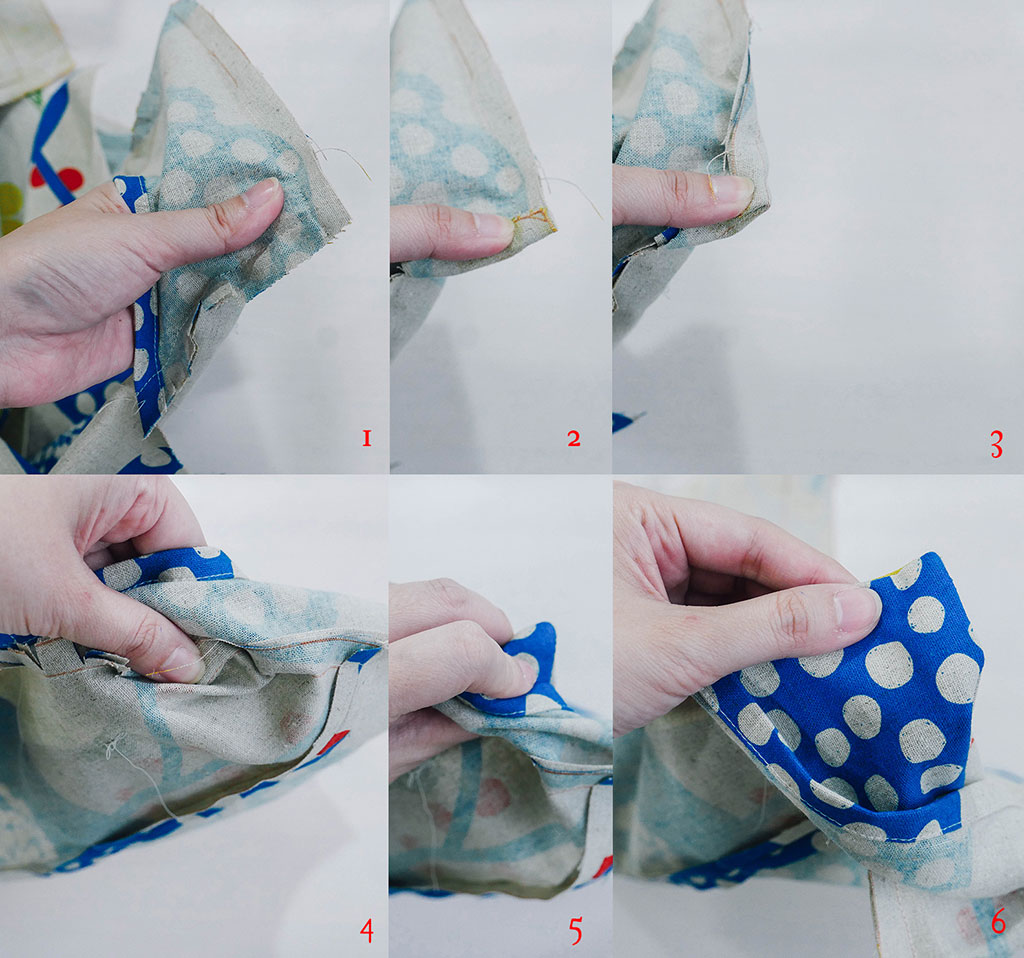
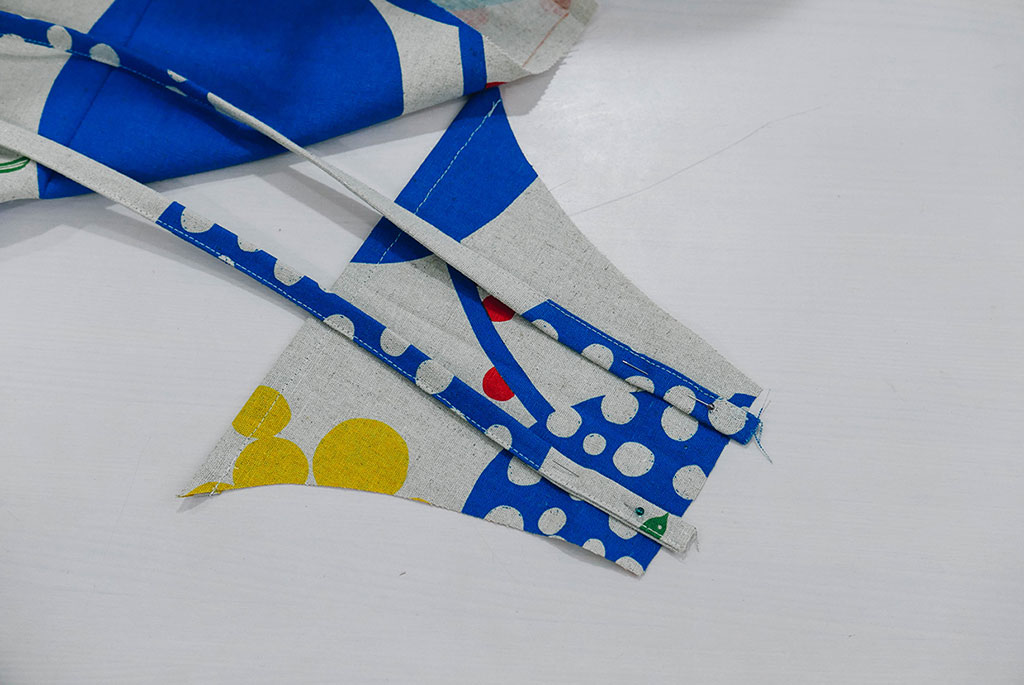
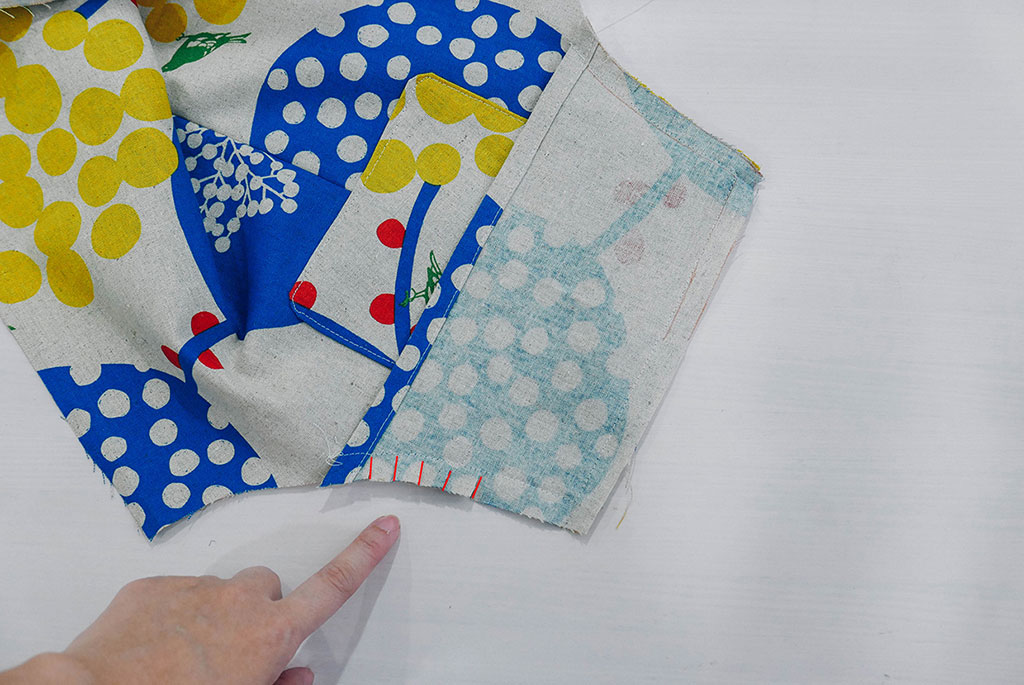
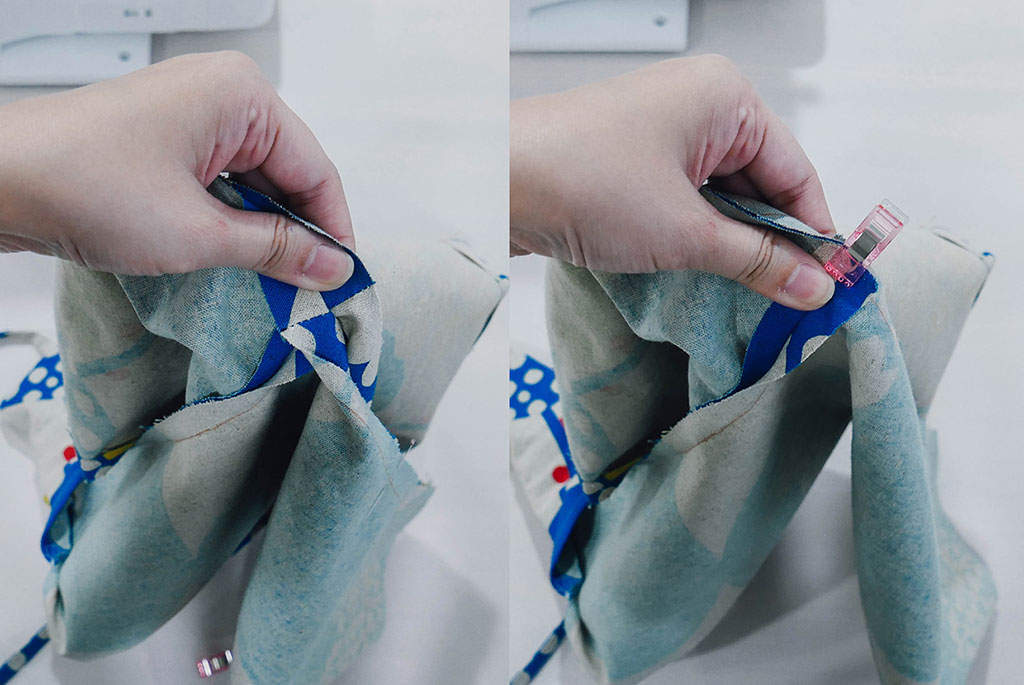
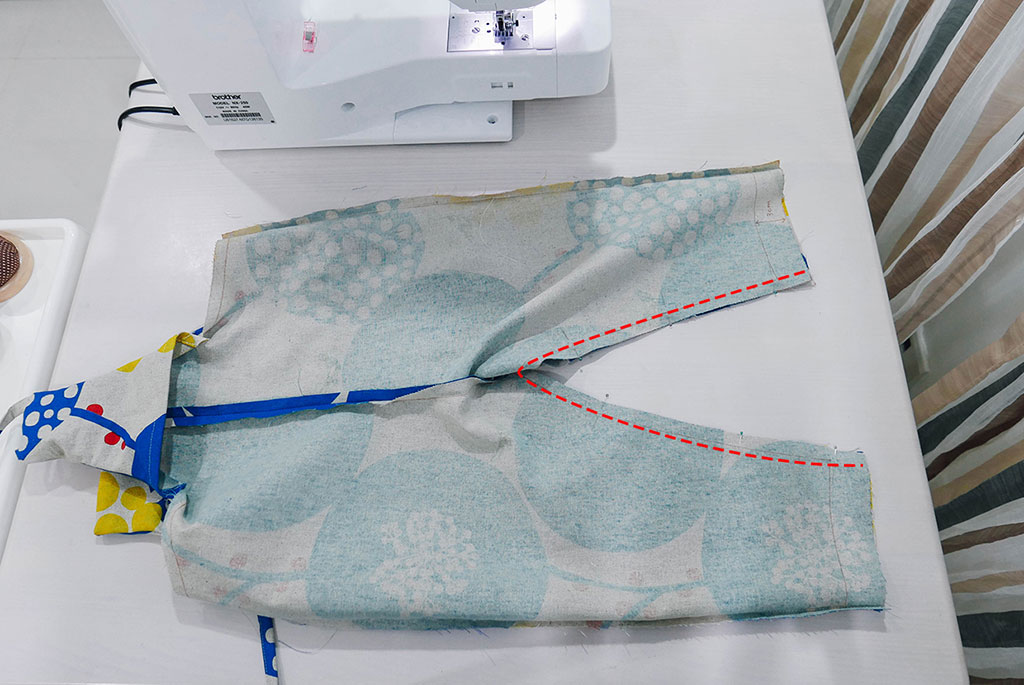
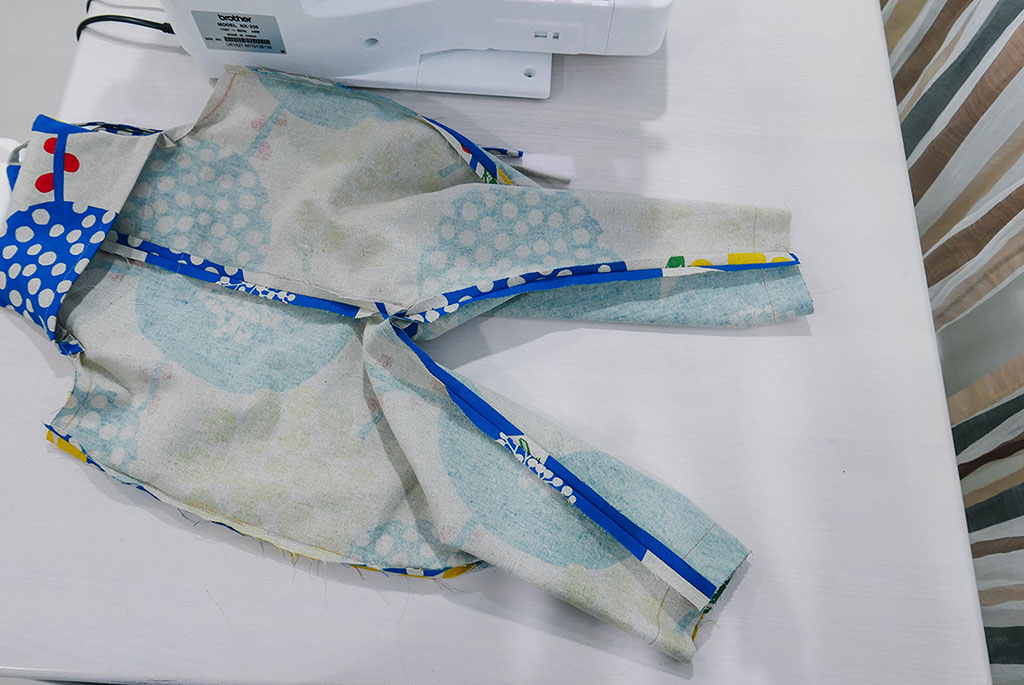
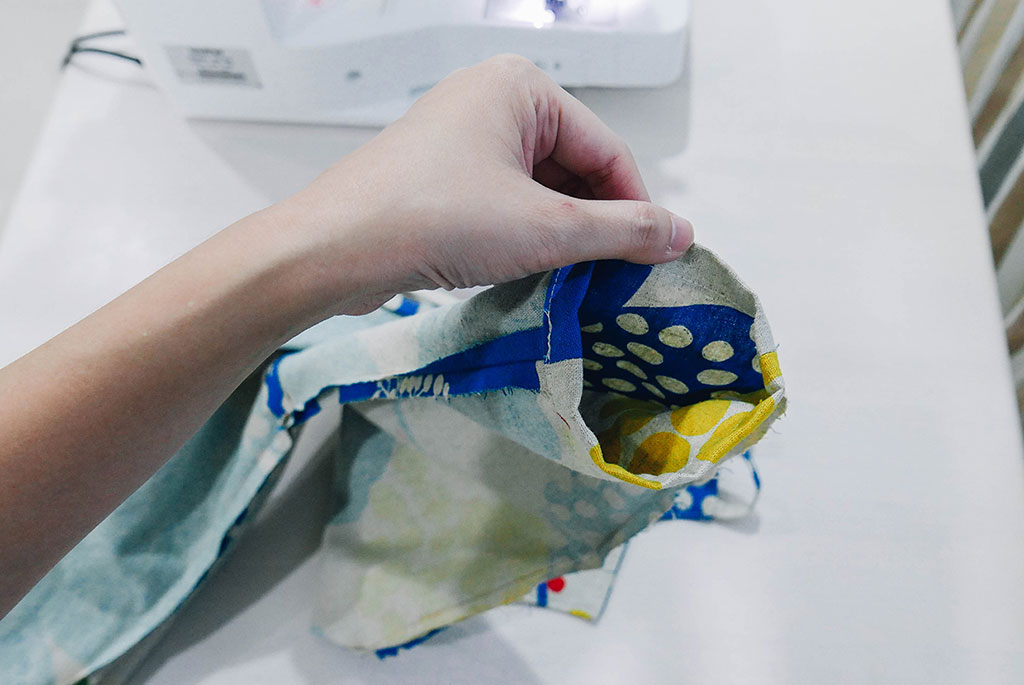
8.結合前後片
前片、後片,正面對正面,兩側縫合(紅色虛線),並將縫份燙開。
褲子底下縫合(紅色虛線),並將縫份燙開。
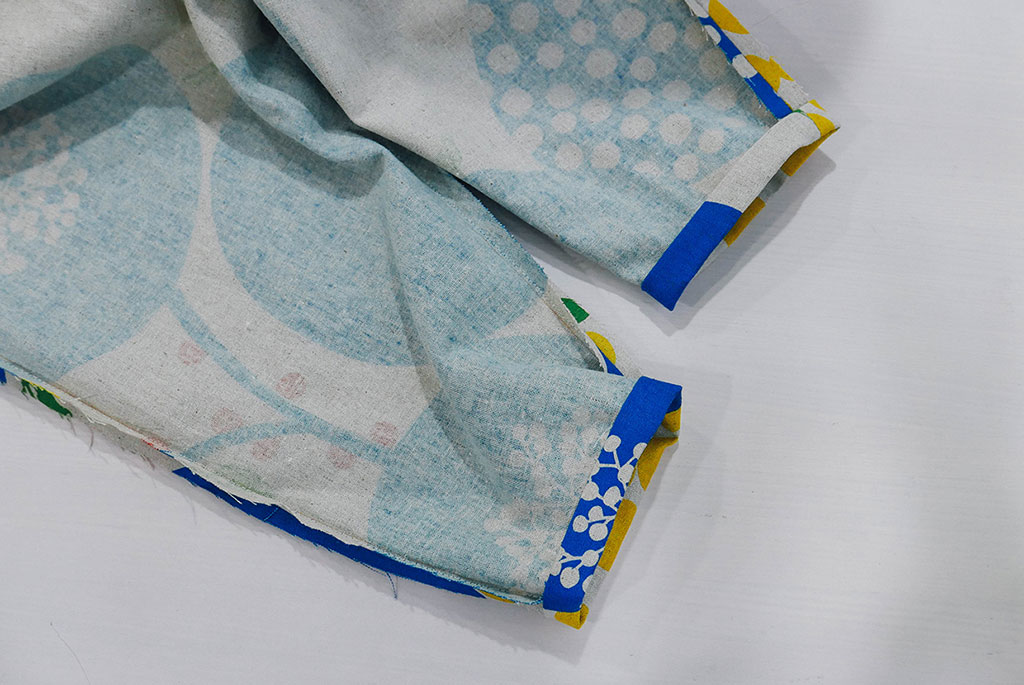
9.處理褲管
褲管往內折兩折後縫合(褲管縫合小技巧可參考影片)。

10.壓線
上半部往內折1cm後壓線(紅色虛線)。
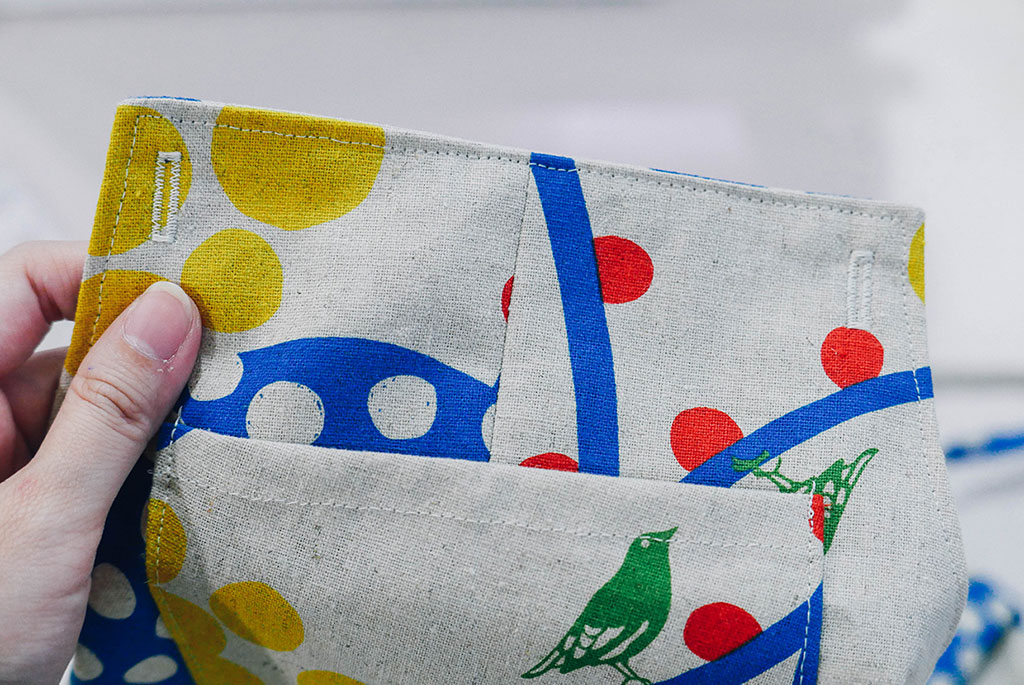
11.開扣眼
使用熱消筆做上記號後開扣眼。(家用縫紉機不好開扣眼,或沒有此功能,可拿去修改衣服的店請師傅幫忙處理。)
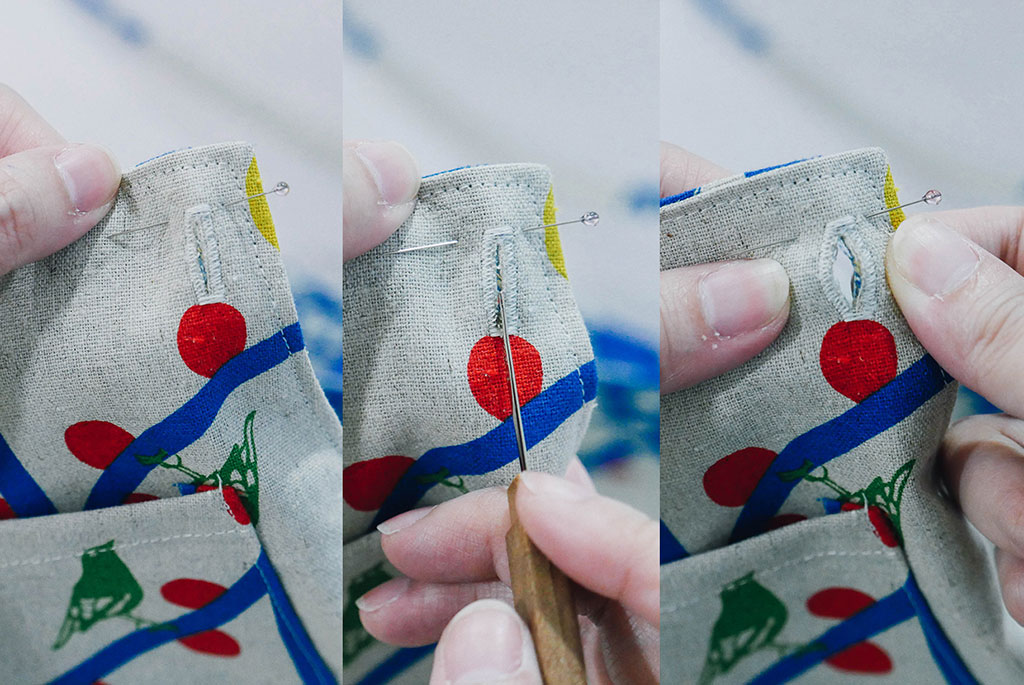
※開扣眼小技巧:珠針固定頂端避免開過頭
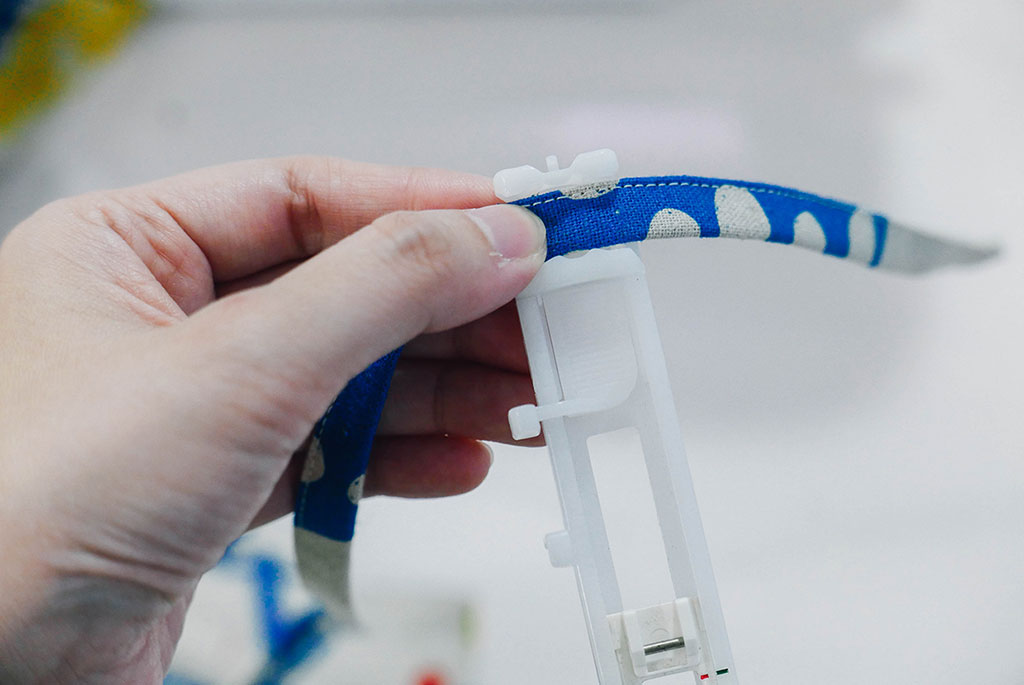
吊帶穿過扣眼,可於胸前打上蝴蝶結,也可各自打結固定。

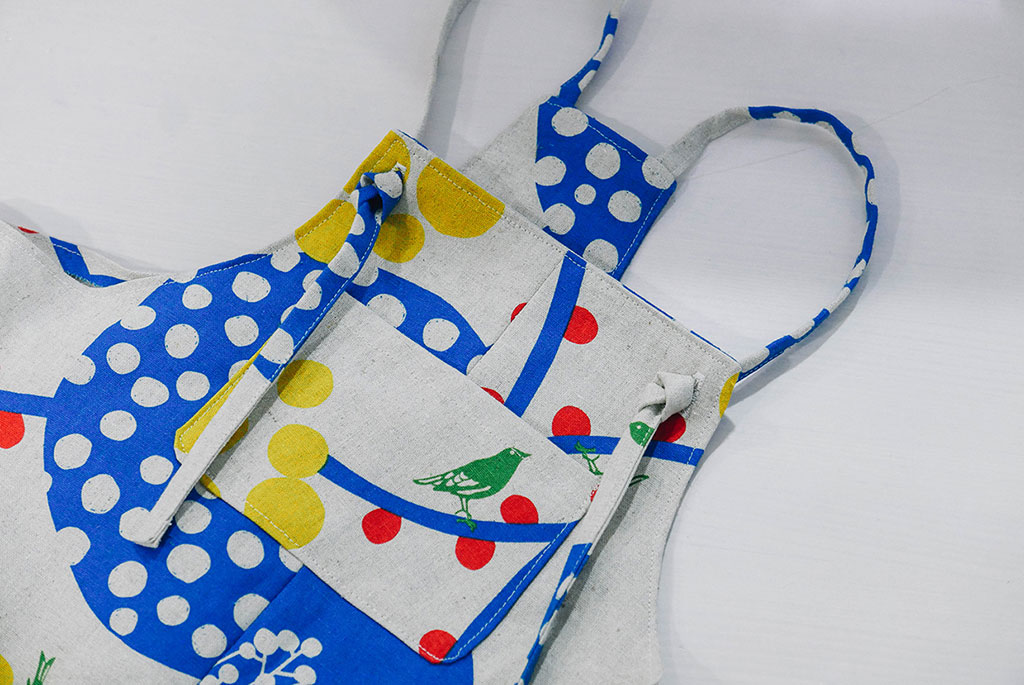
12.完成
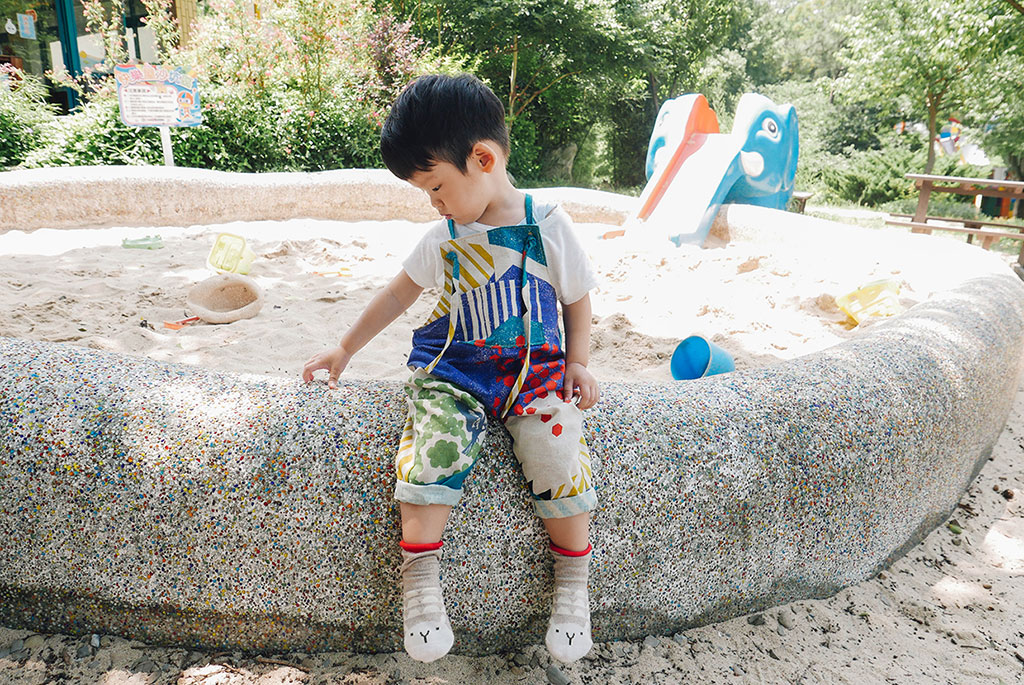
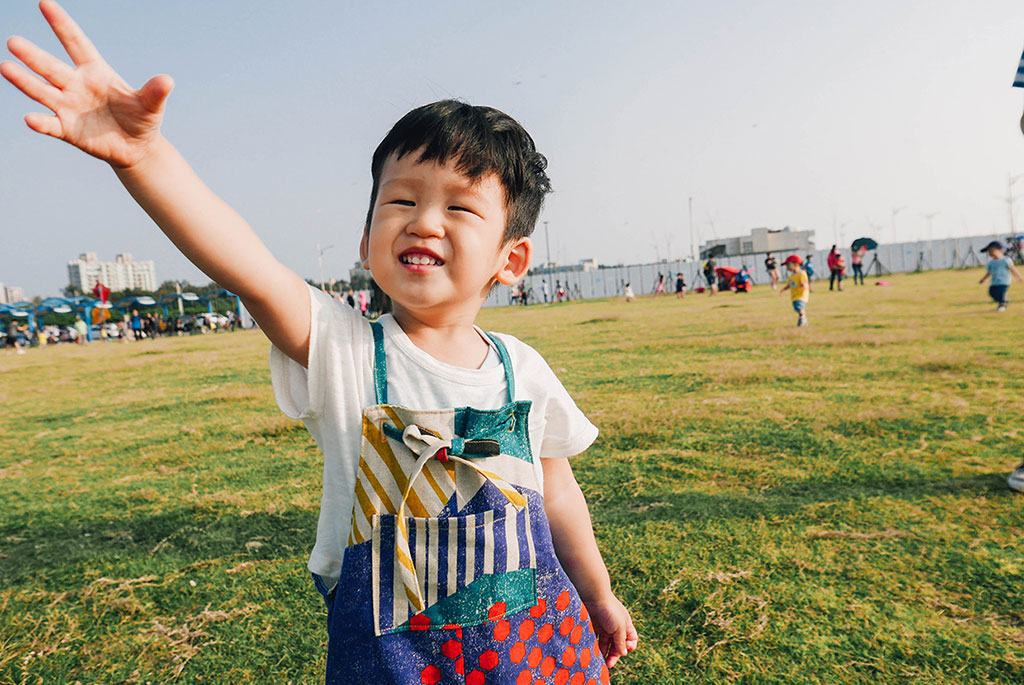
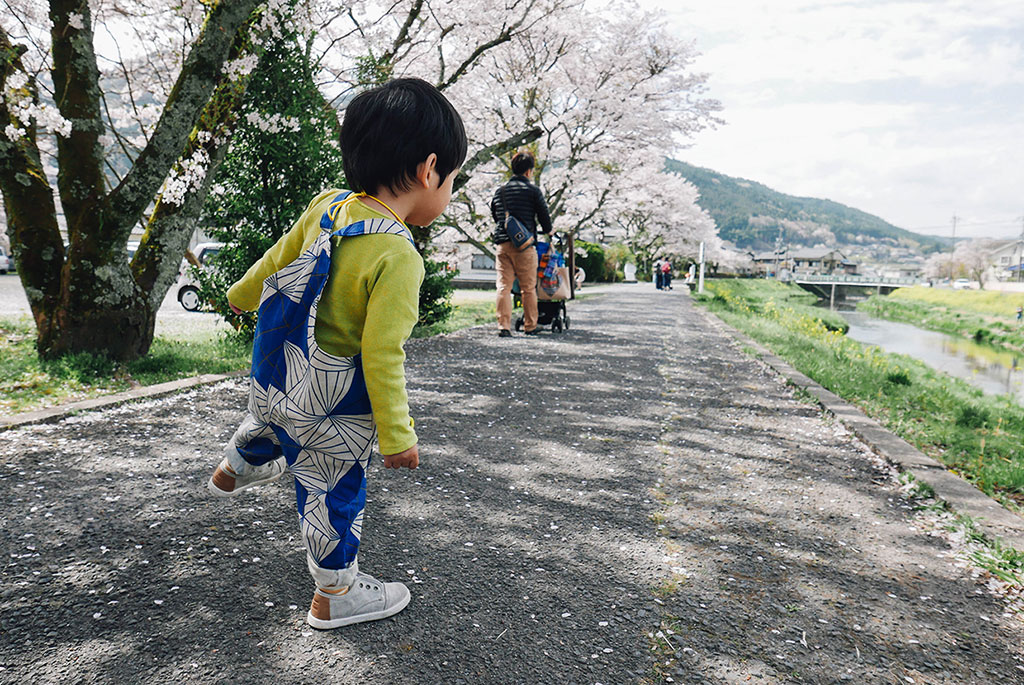
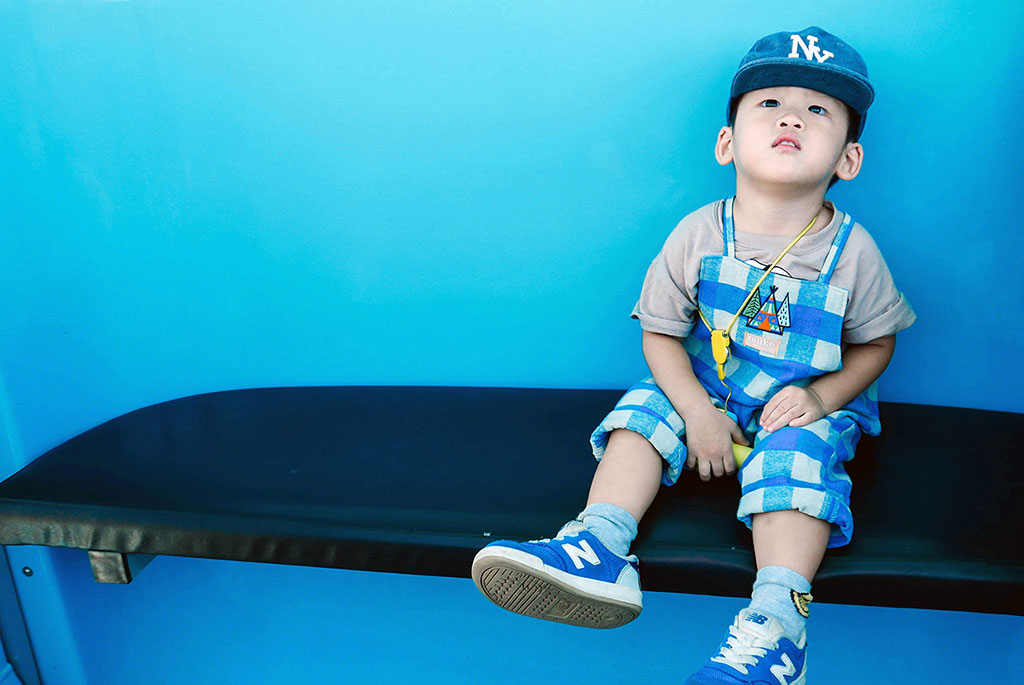
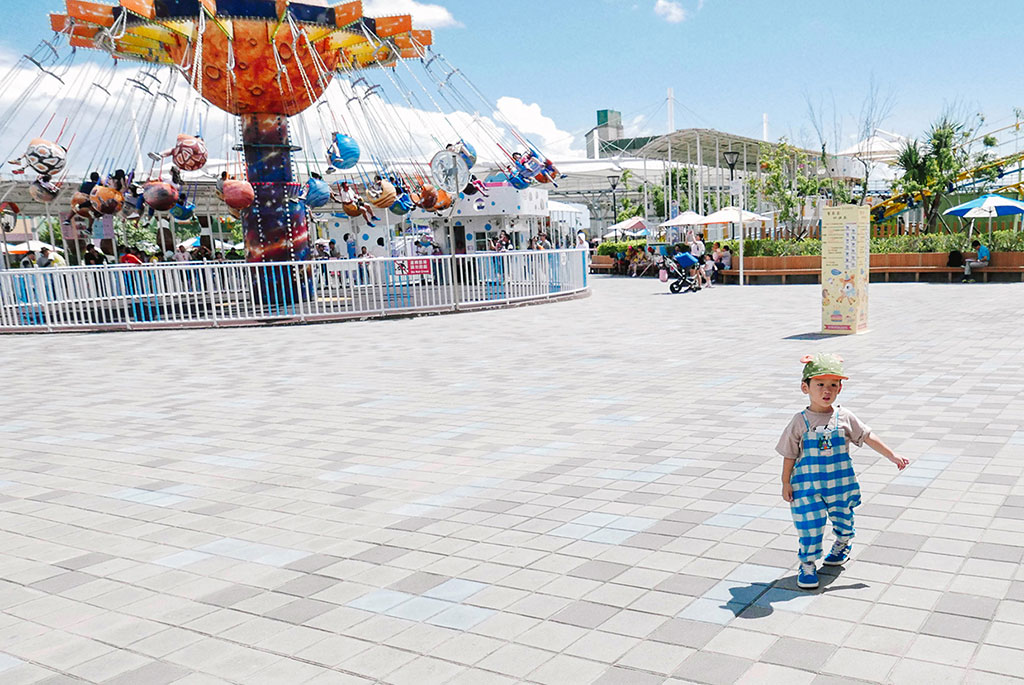
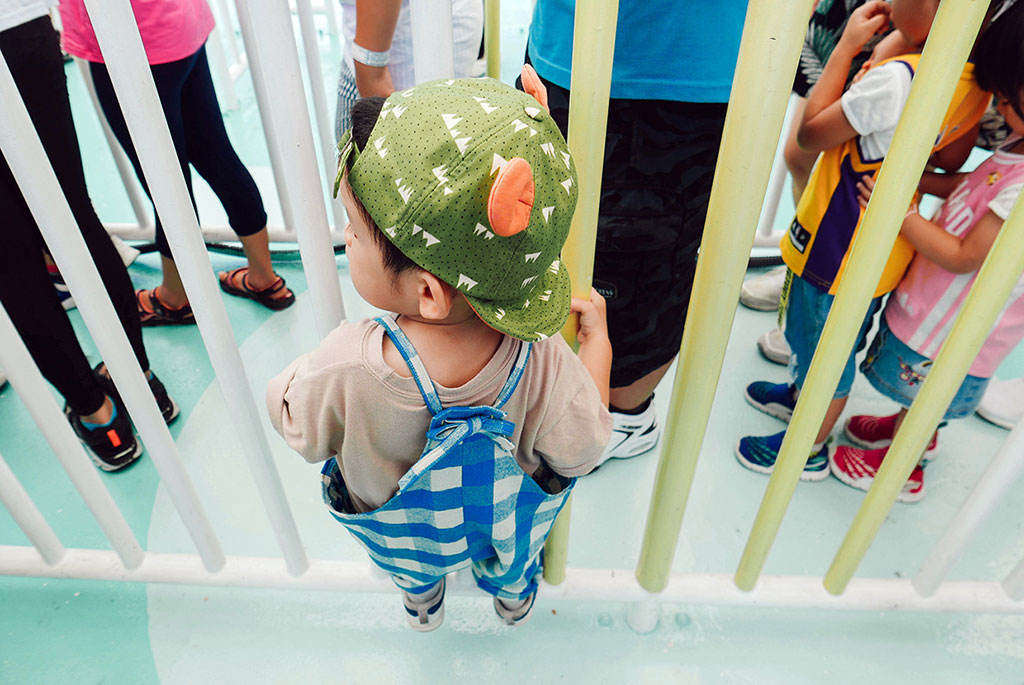
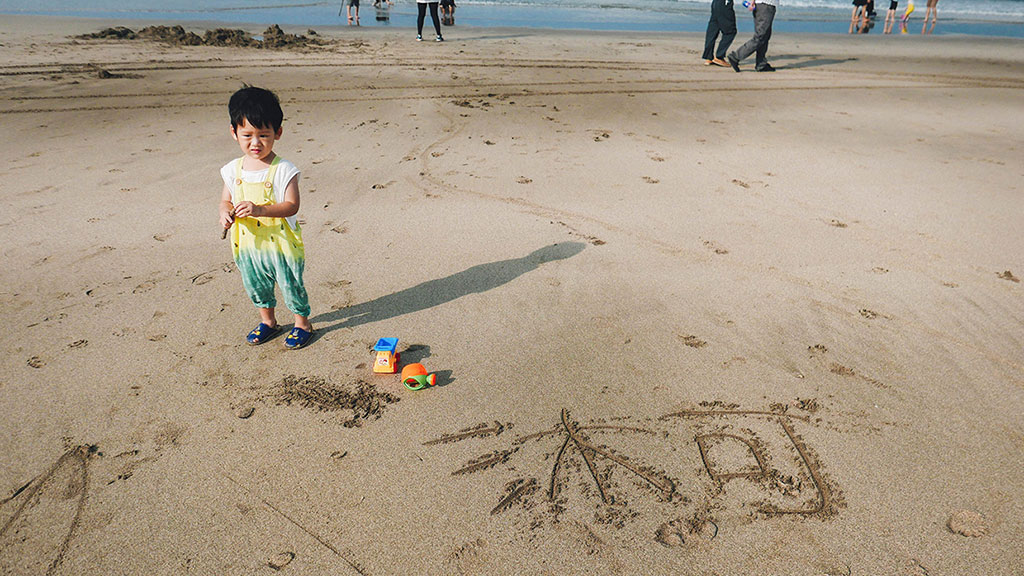
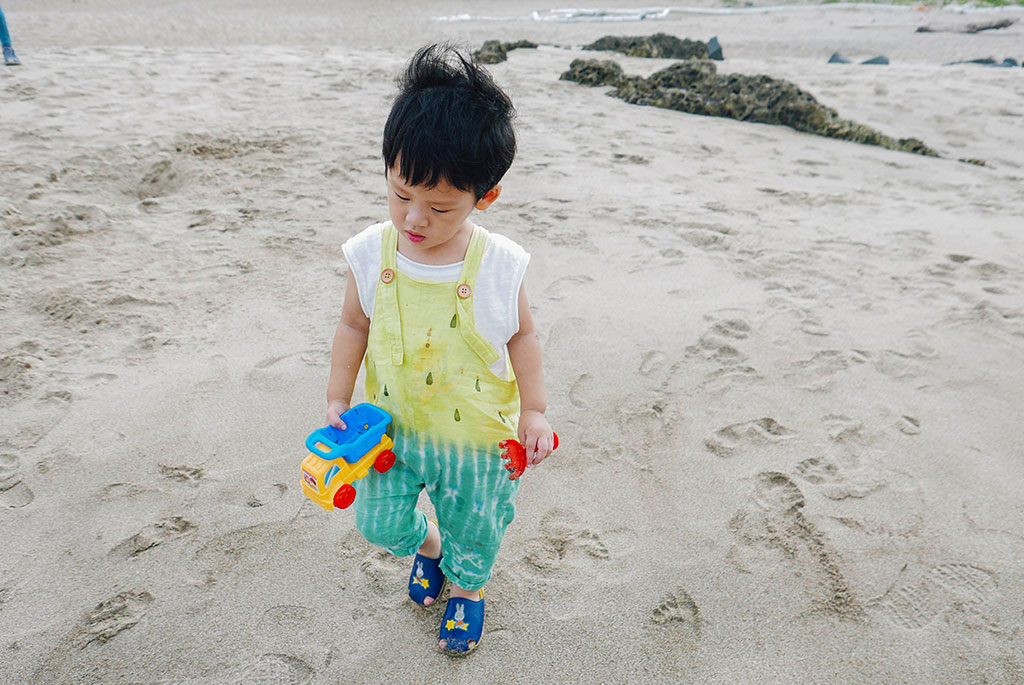
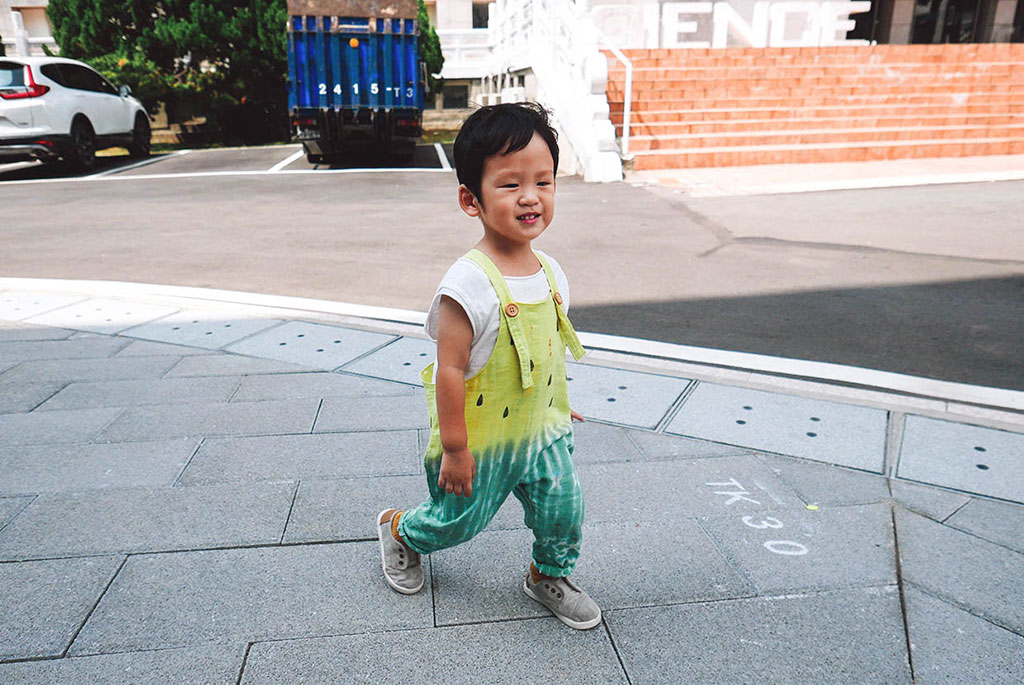
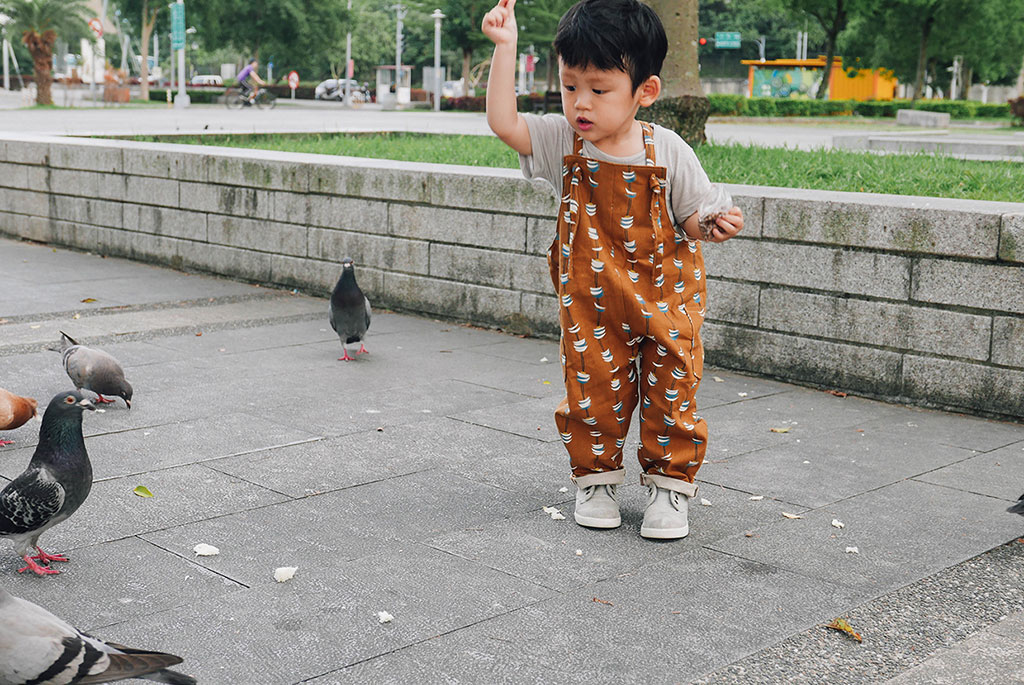
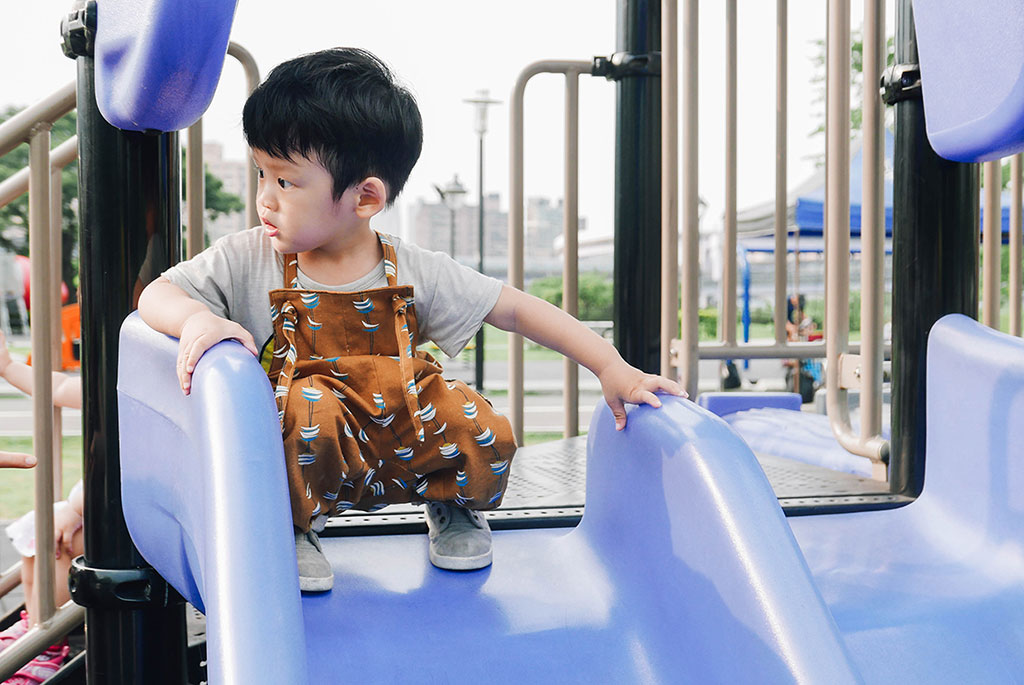
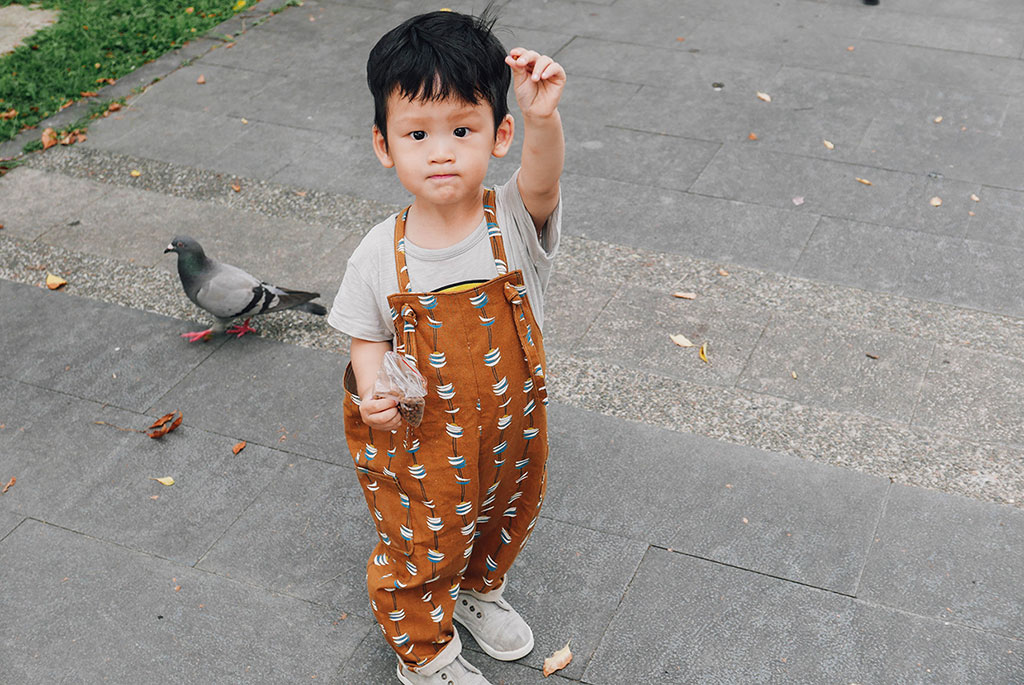
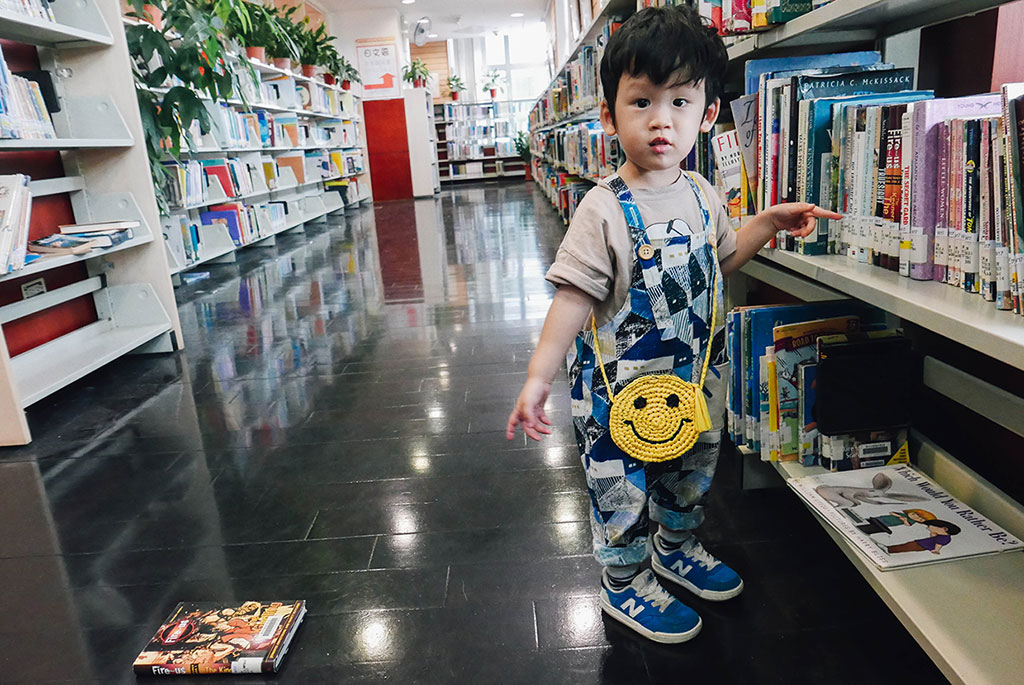
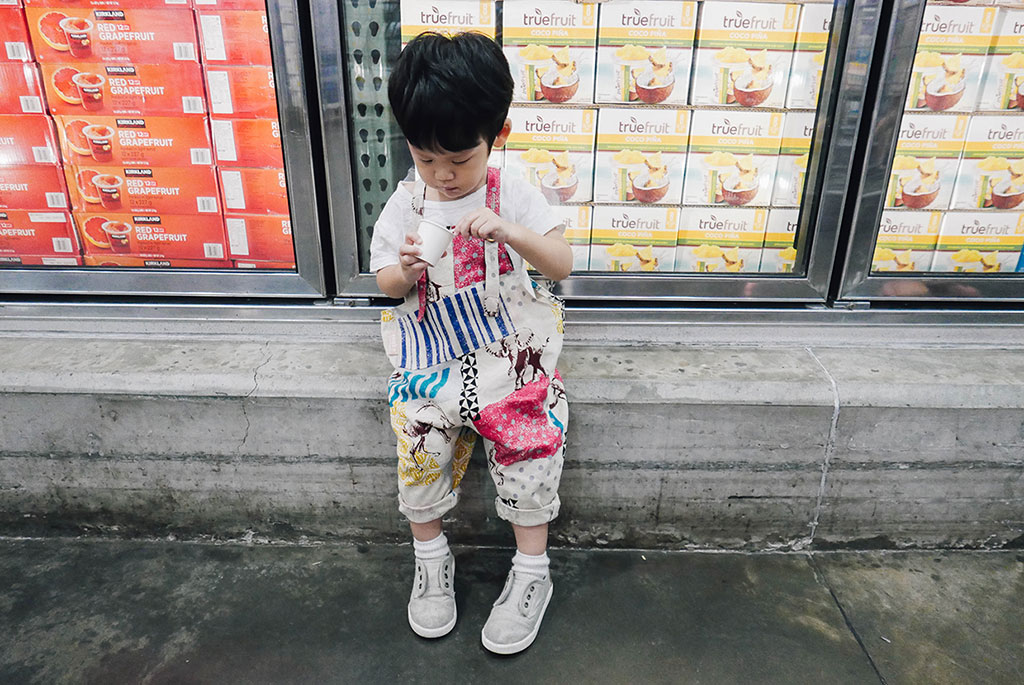
沐可穿搭照
一起分享交流
粉專有大家分享的成品,許多人都說第一次就成功!歡迎也來分享你的作品,相信你完成後絕對會想繼續做上好幾件(笑)有了你的回饋,也可以讓我更有動力繼續分享其他手作教學喔:)